
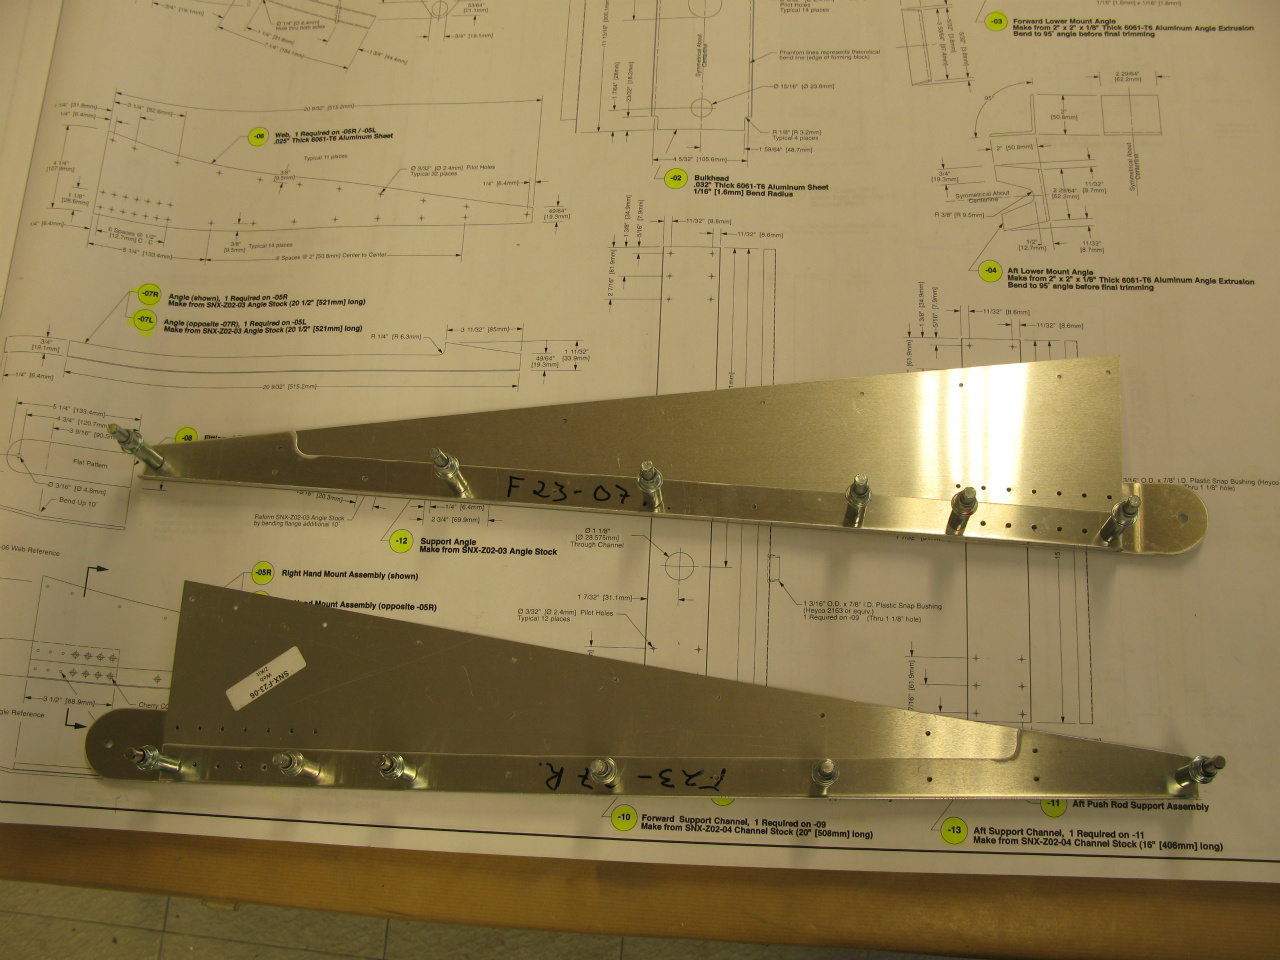
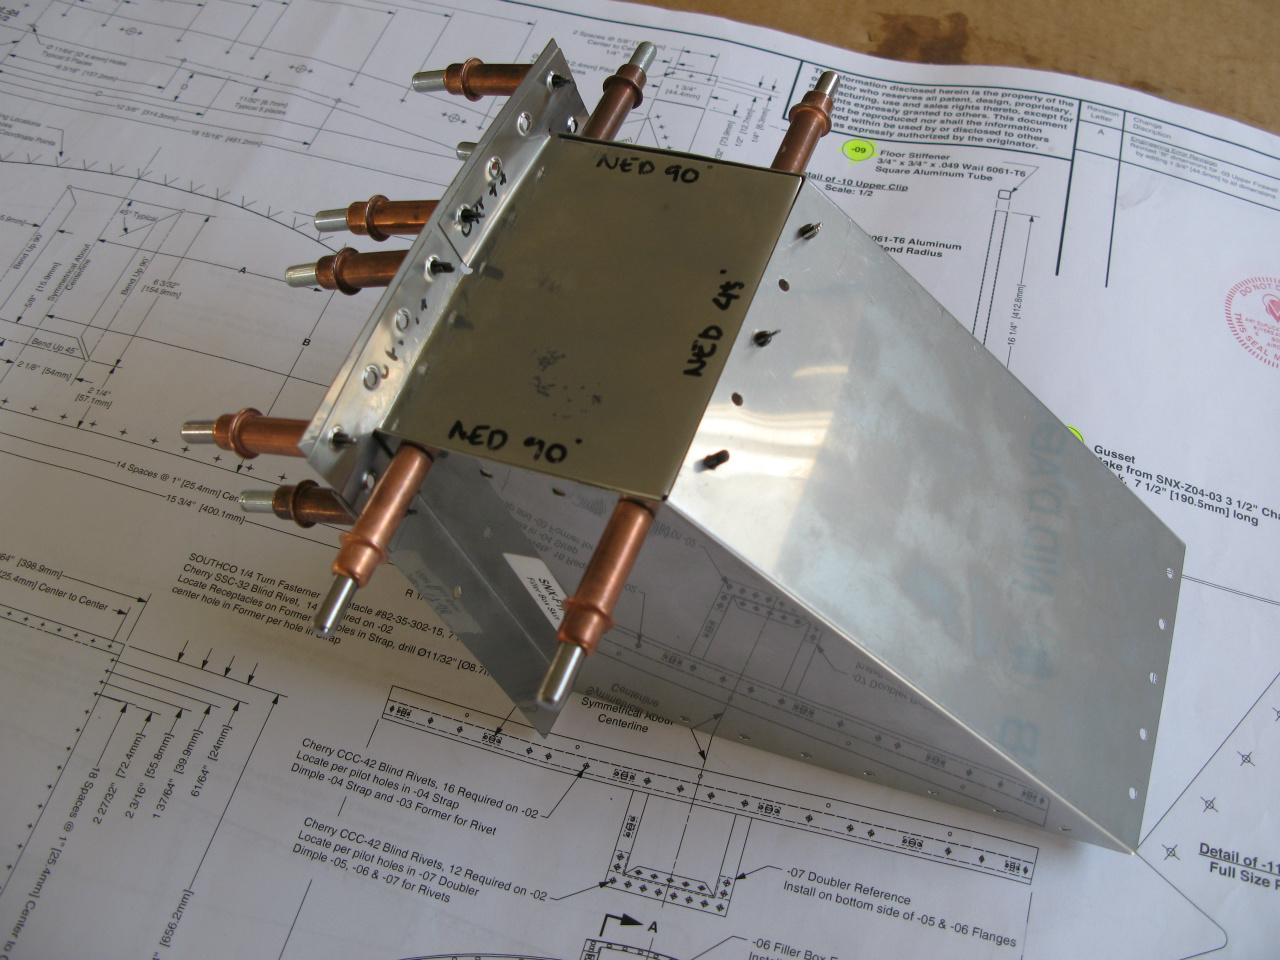
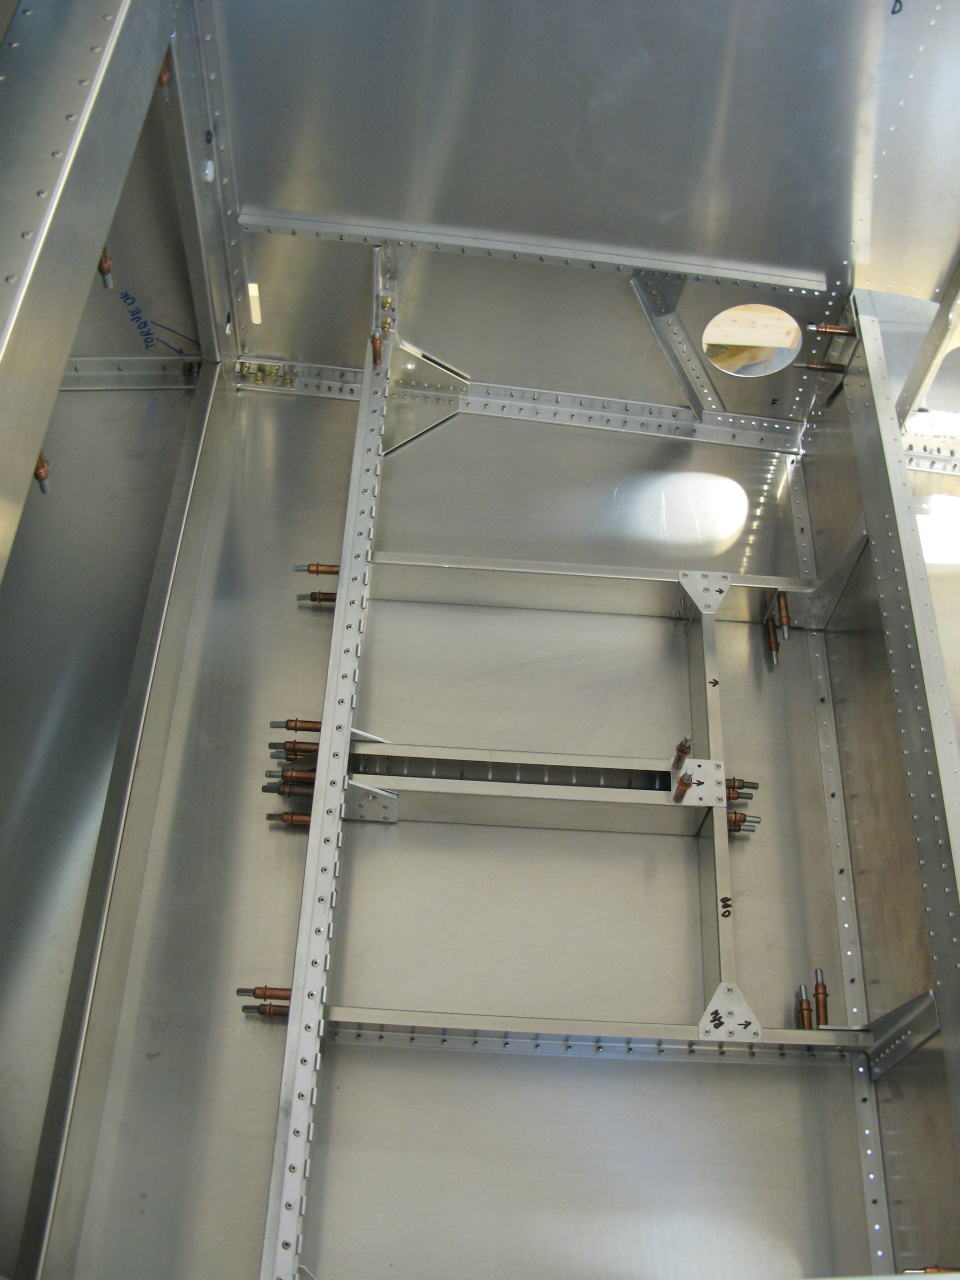
vertical channels, cross ties, splice plates and then some for the aft fuselage
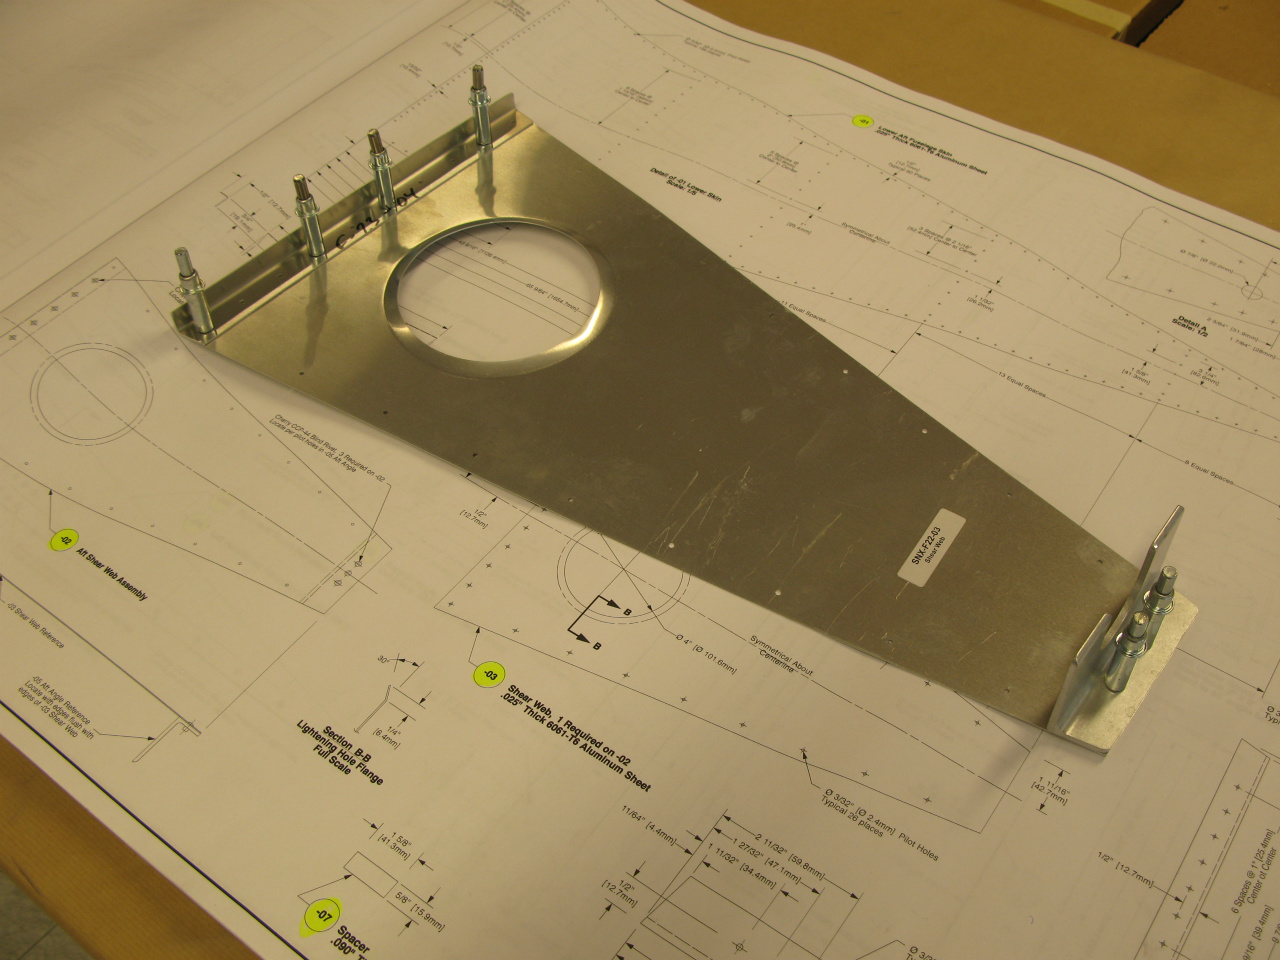
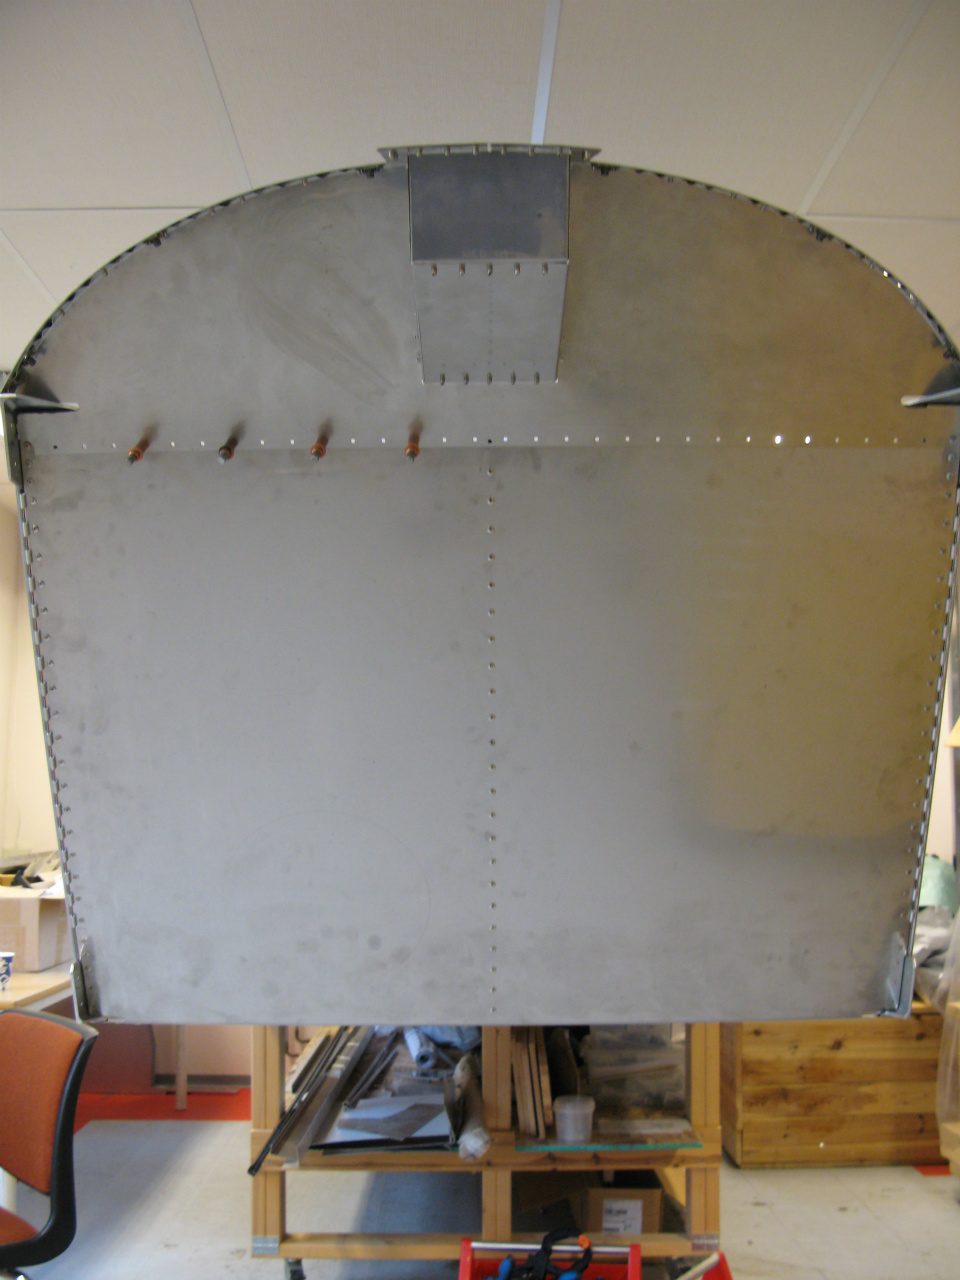
Pre-fabricated shear web for the lower aft fuselage
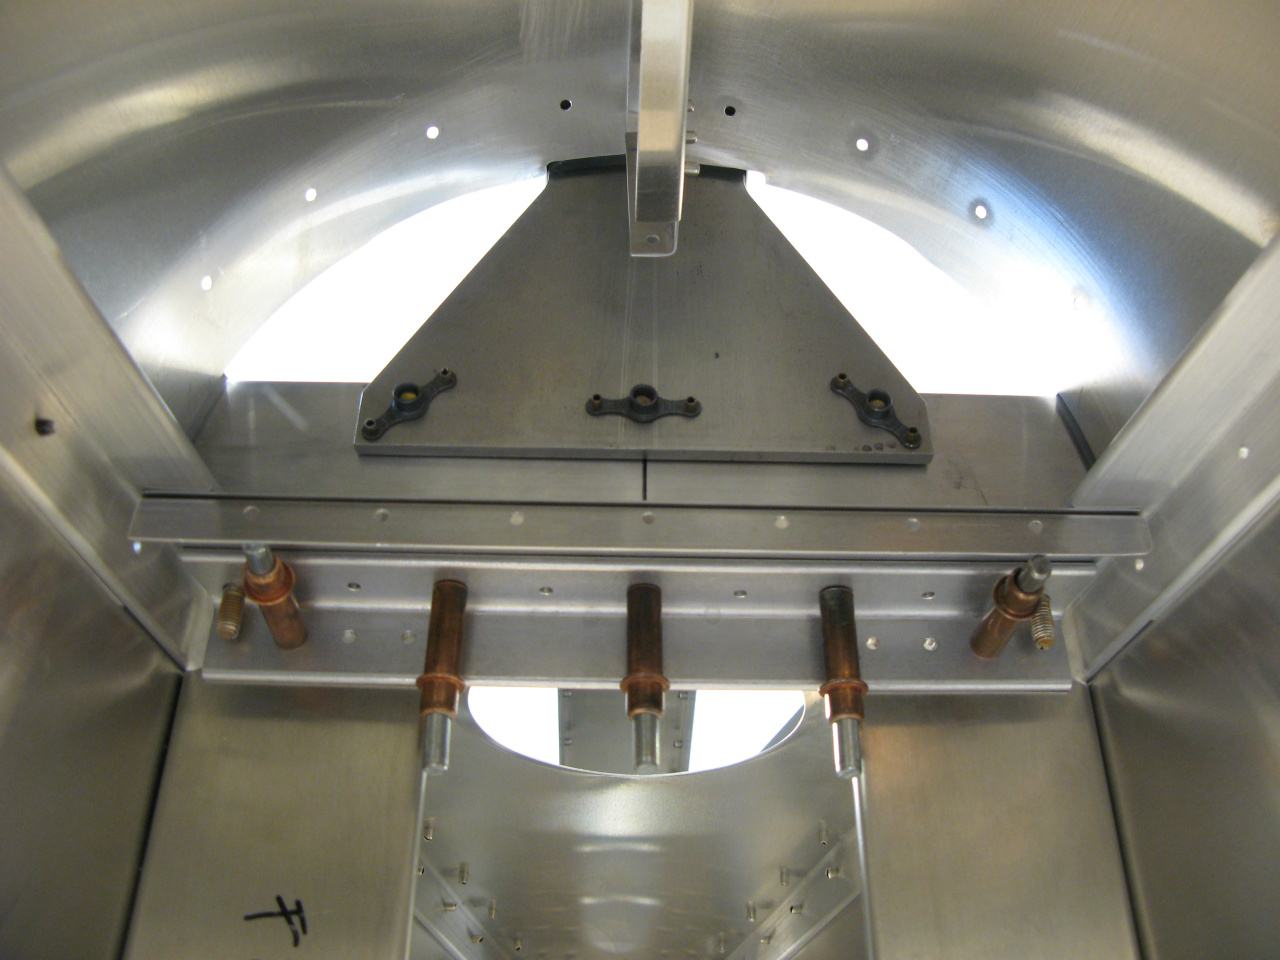
Attachment parts for shoulder harness
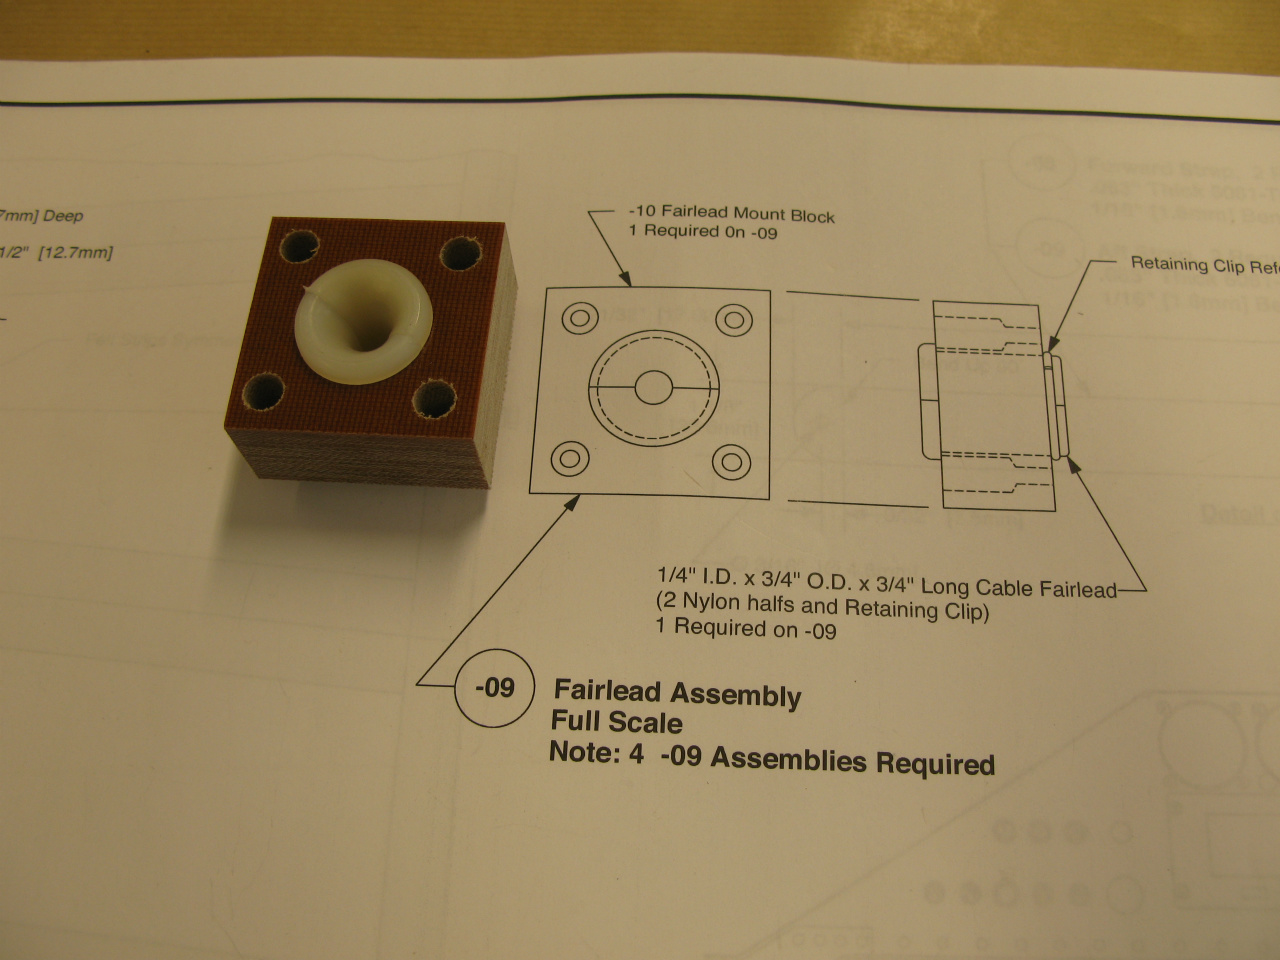
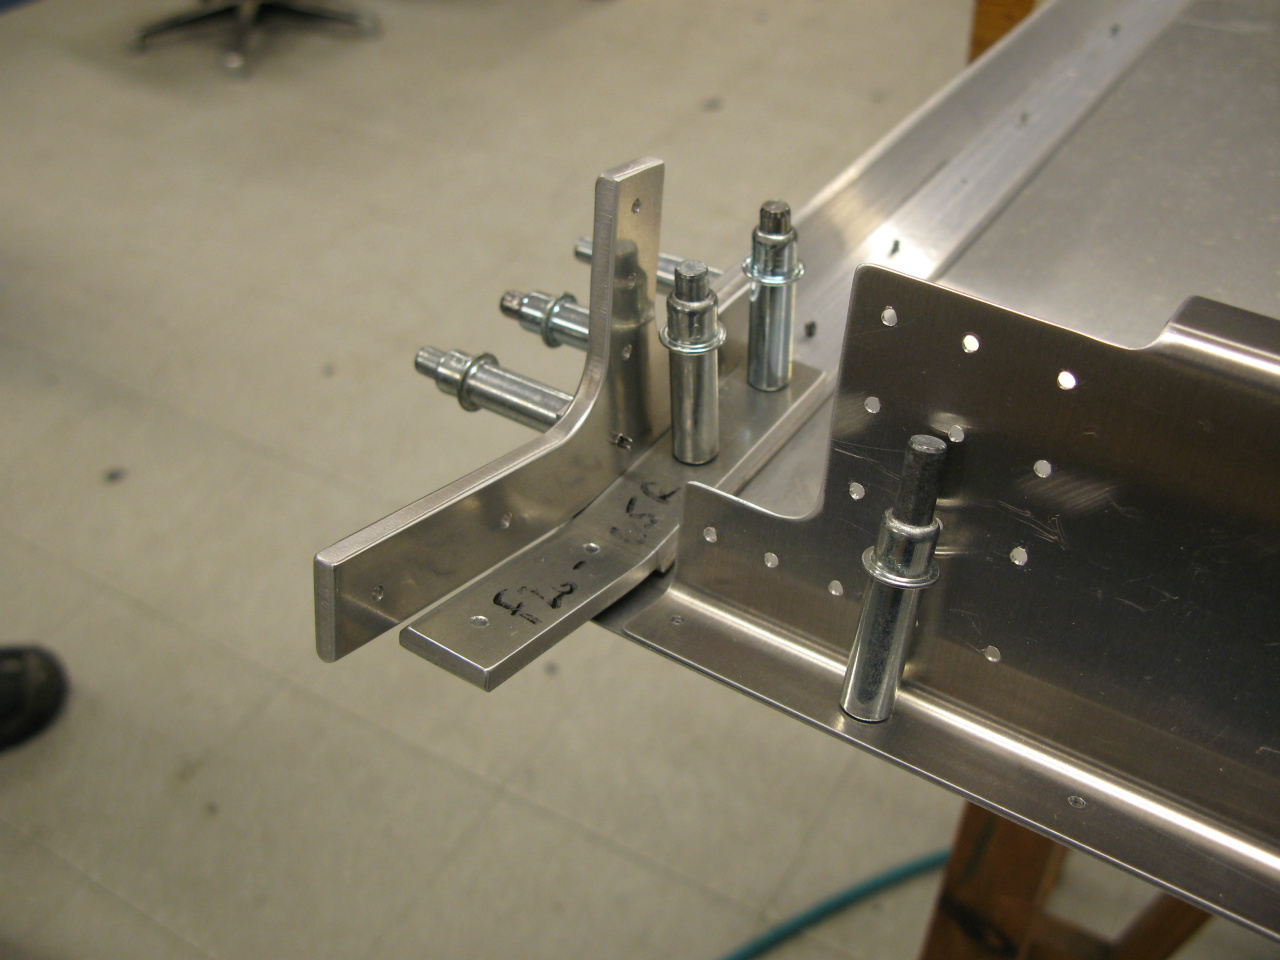
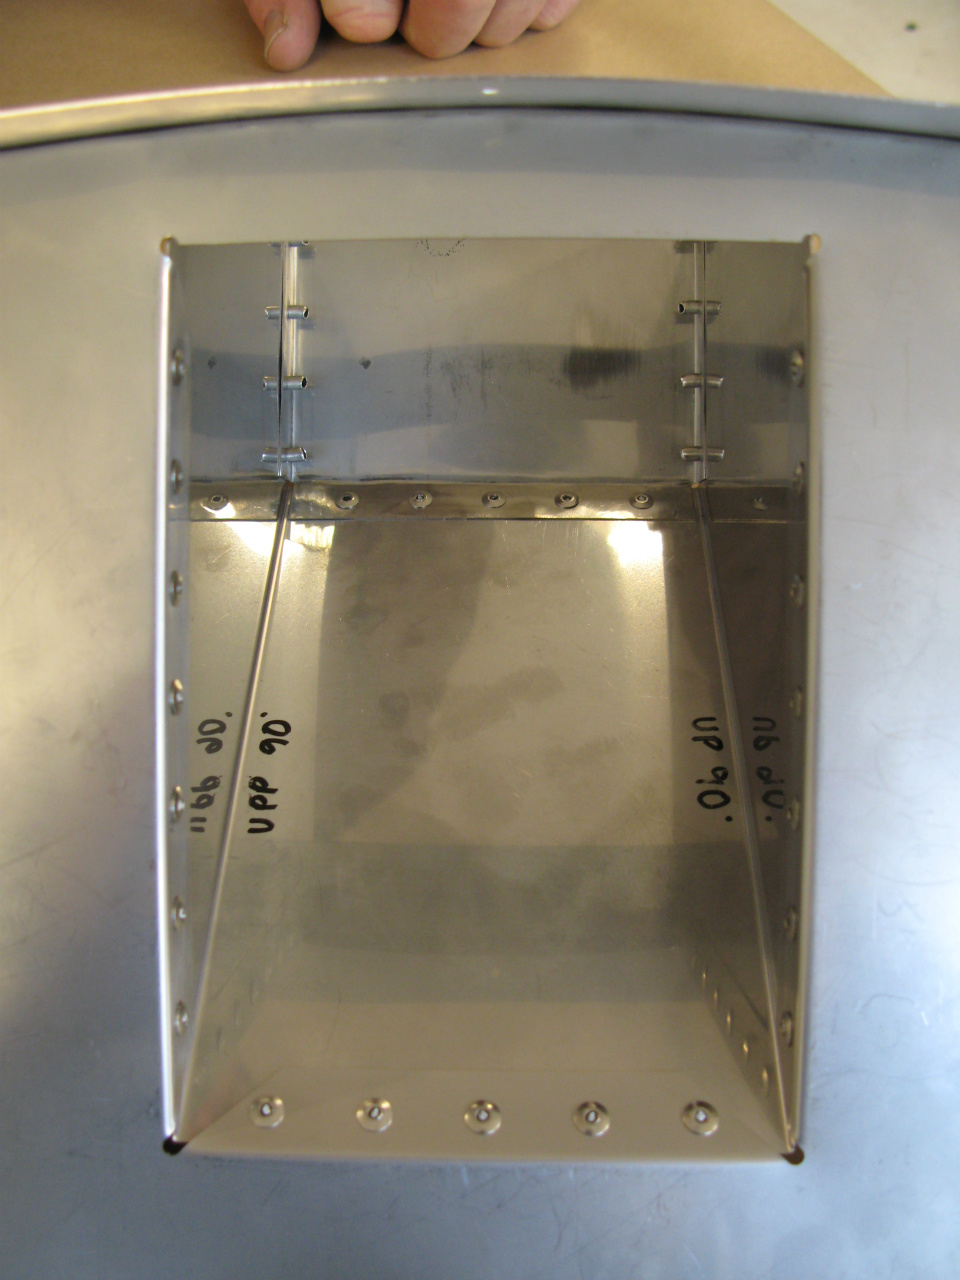
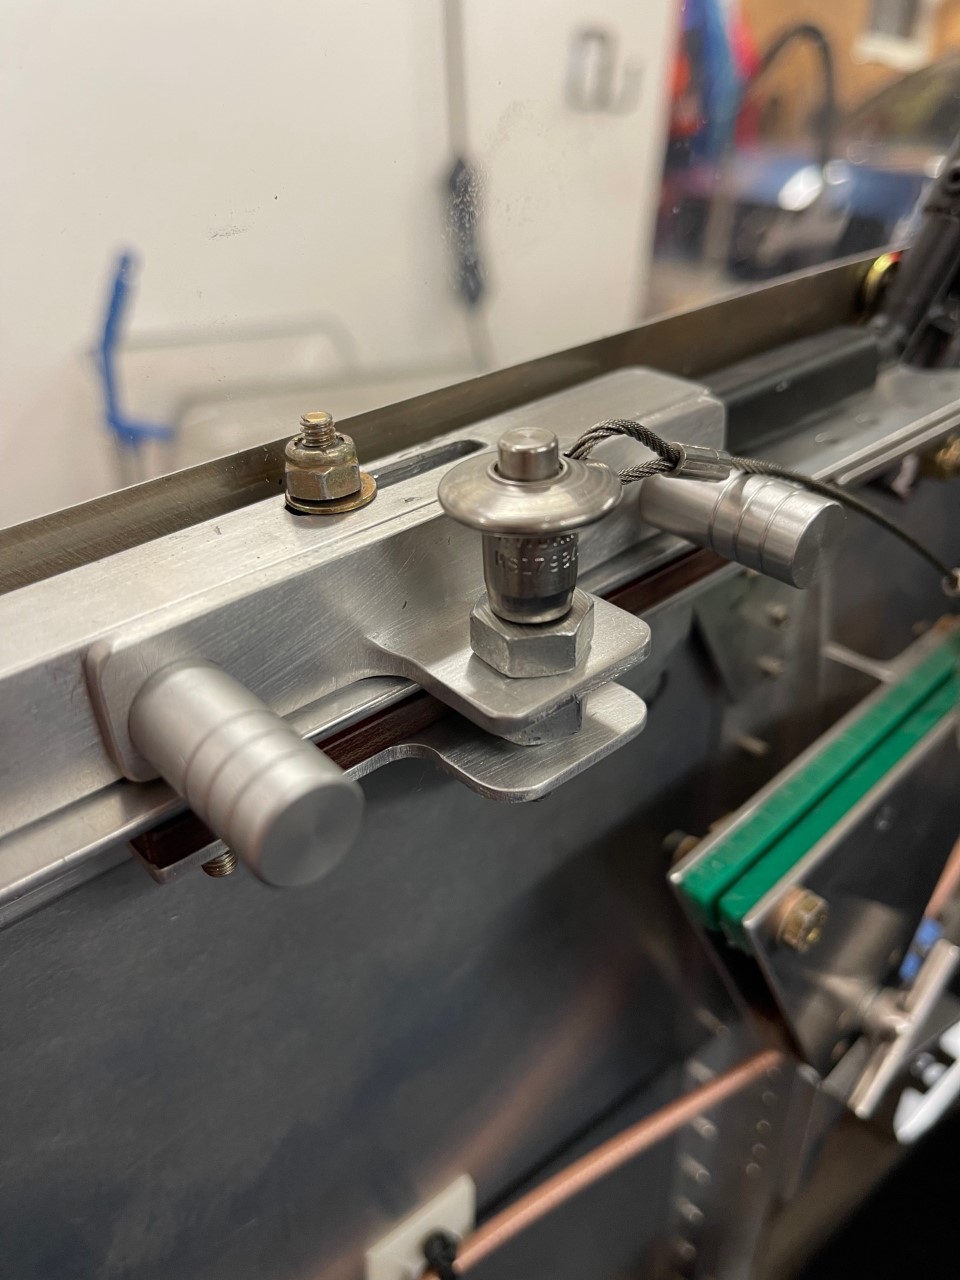
Fearlead assembly. To be installed on R/L fwd and aft vertical channel in the aft fuselage. Guide for the rudder cables
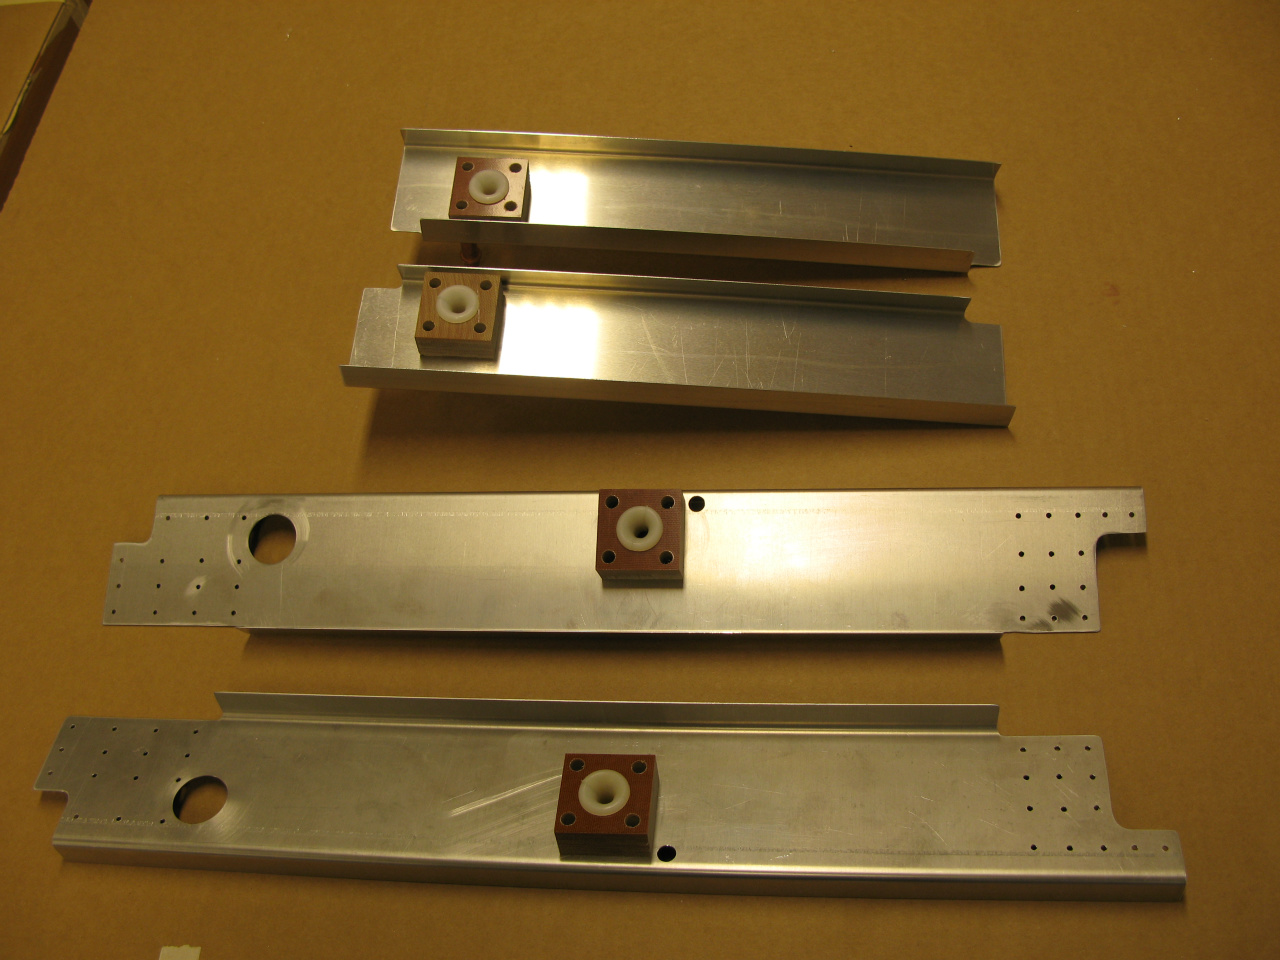
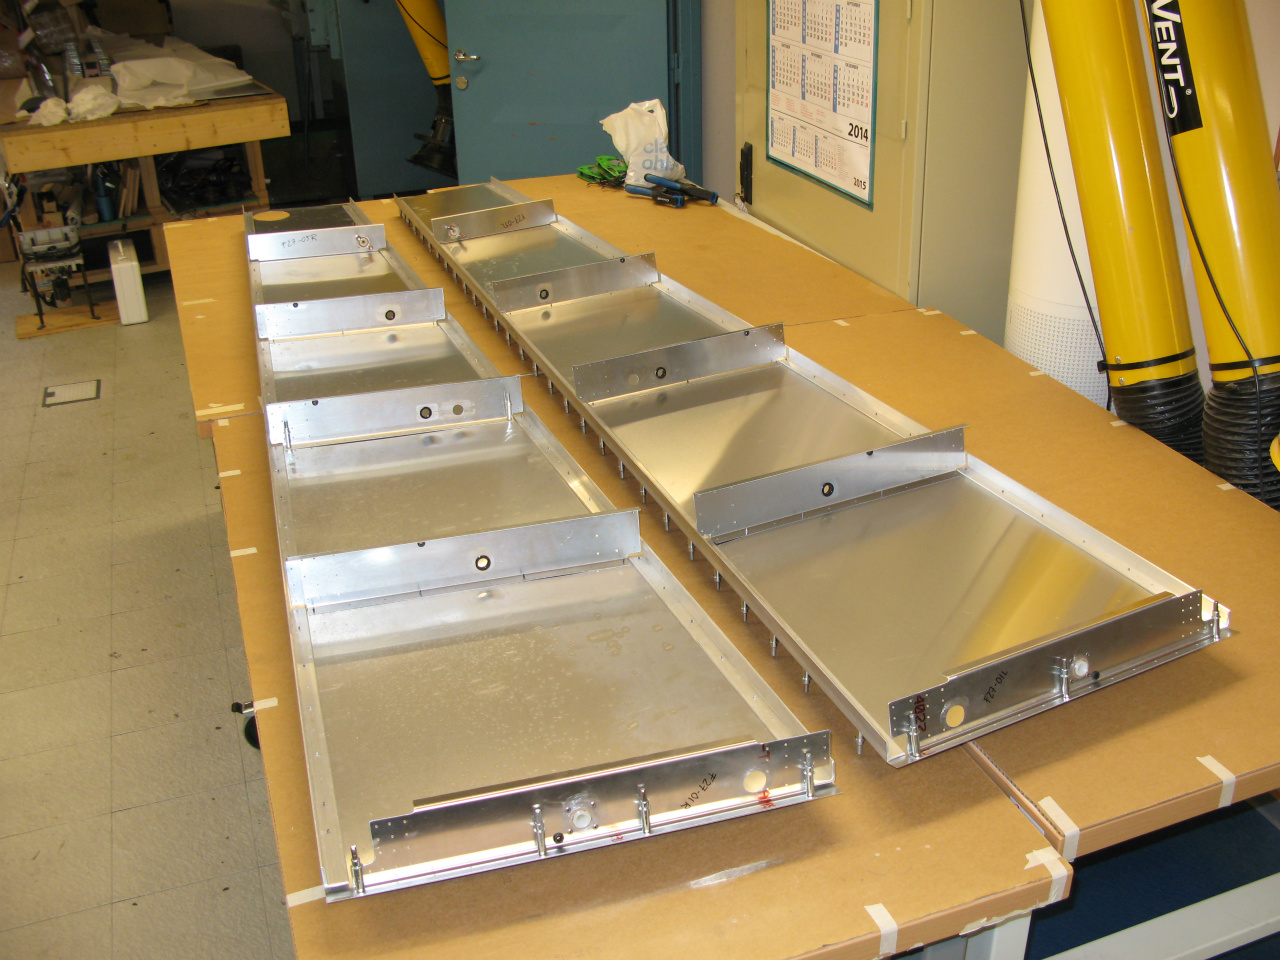
Fwd and aft vertical stiffeners with fairlead assemblies mounted. Guides for the rudder cable.
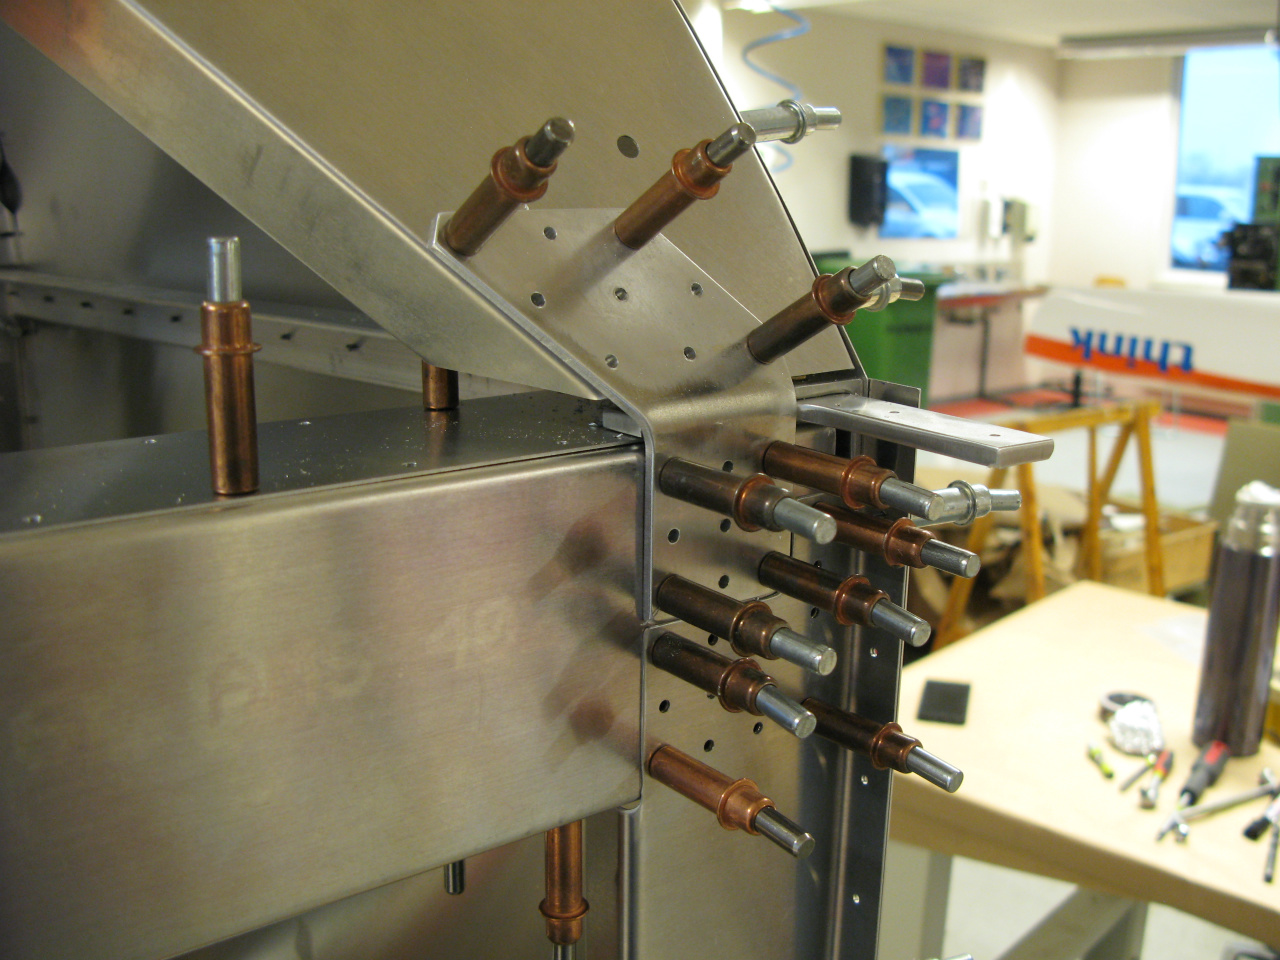
R/H aft side panel clecoed to the longerons
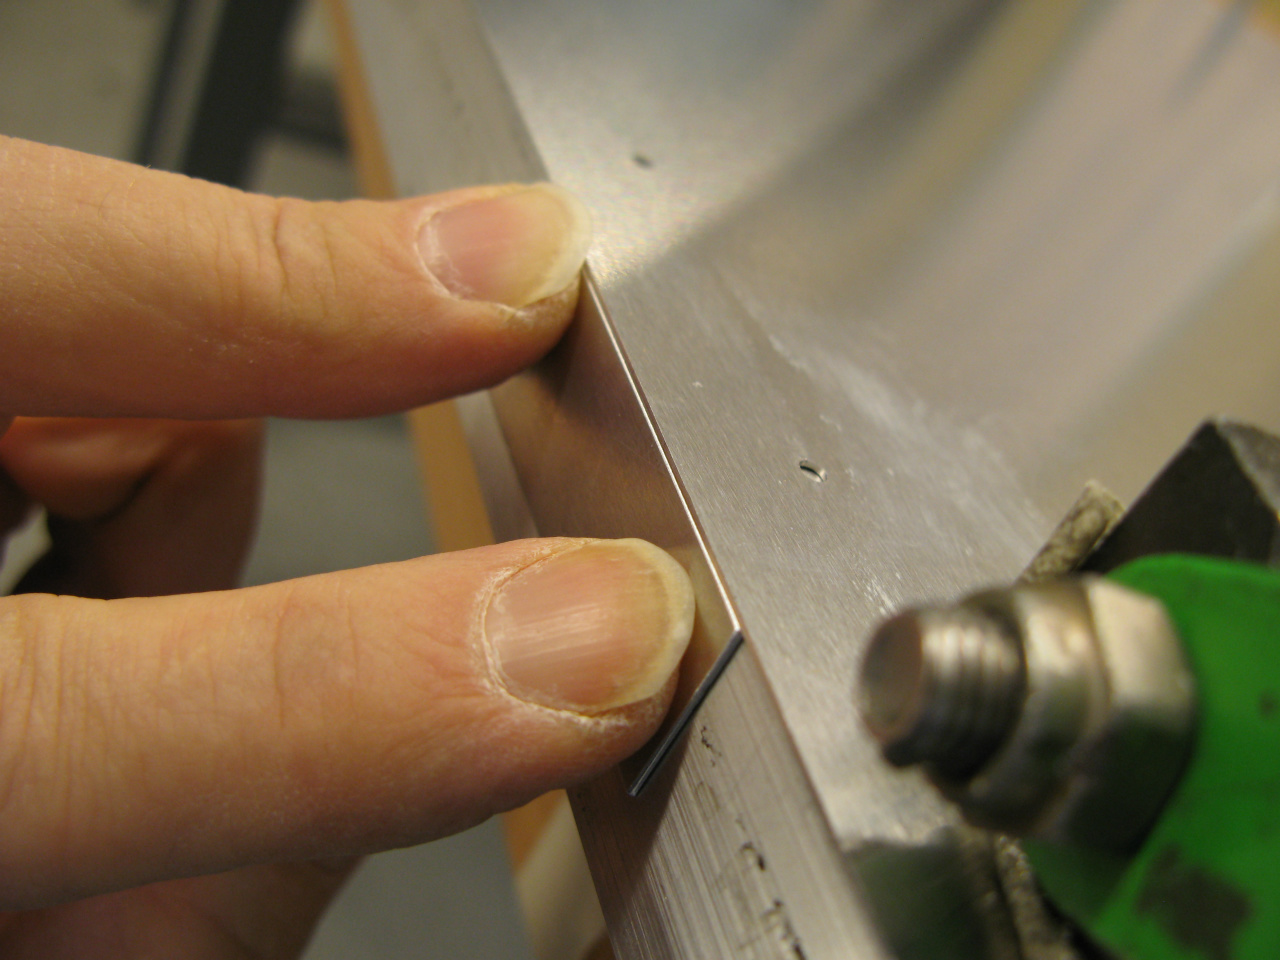
Offseting the longeron by 25 thousands of an inch to allow the lower skin to become flush with the side skin. Used a small piece of skin plate aluminium.
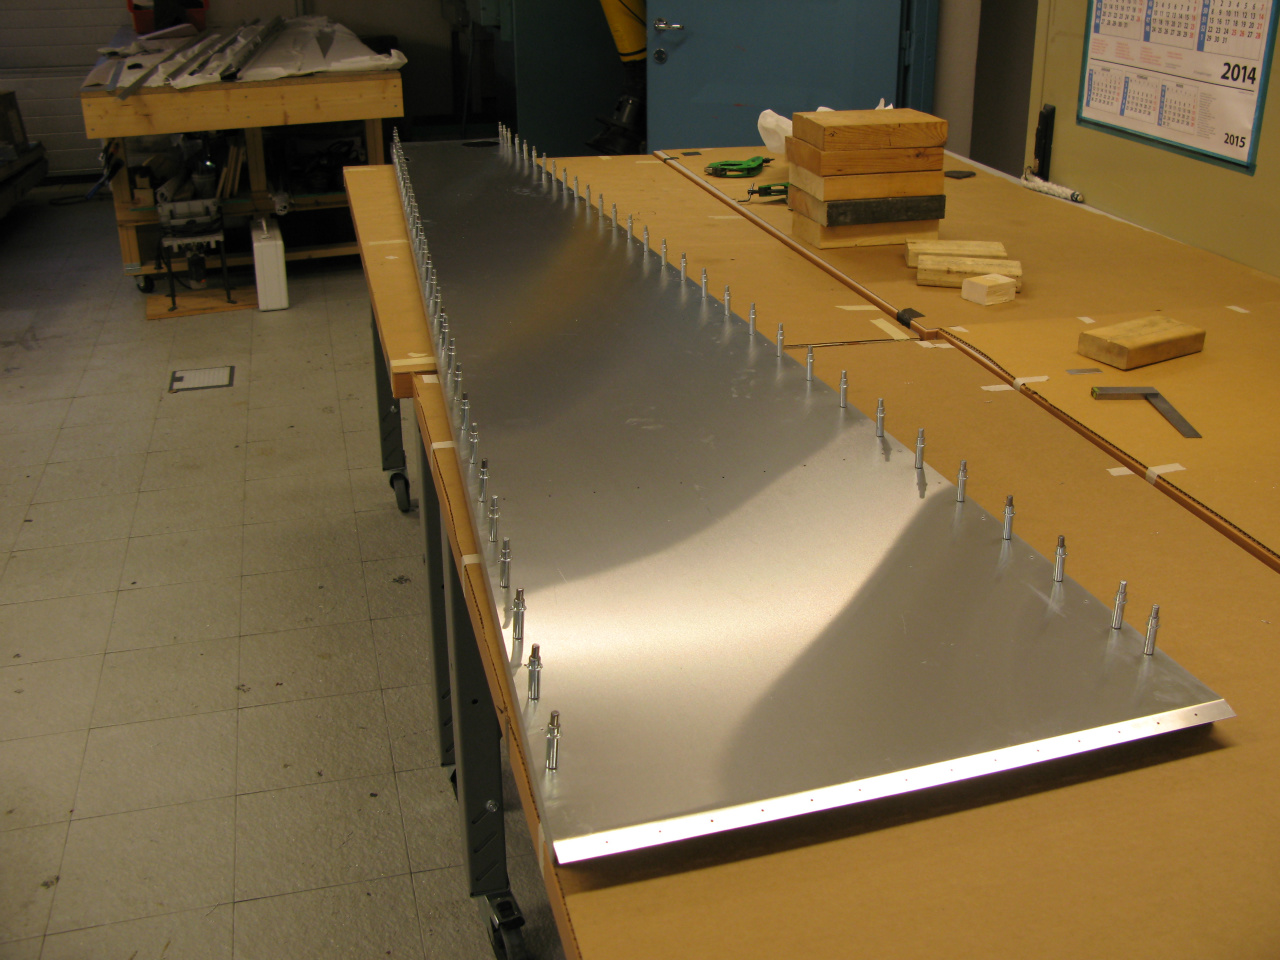
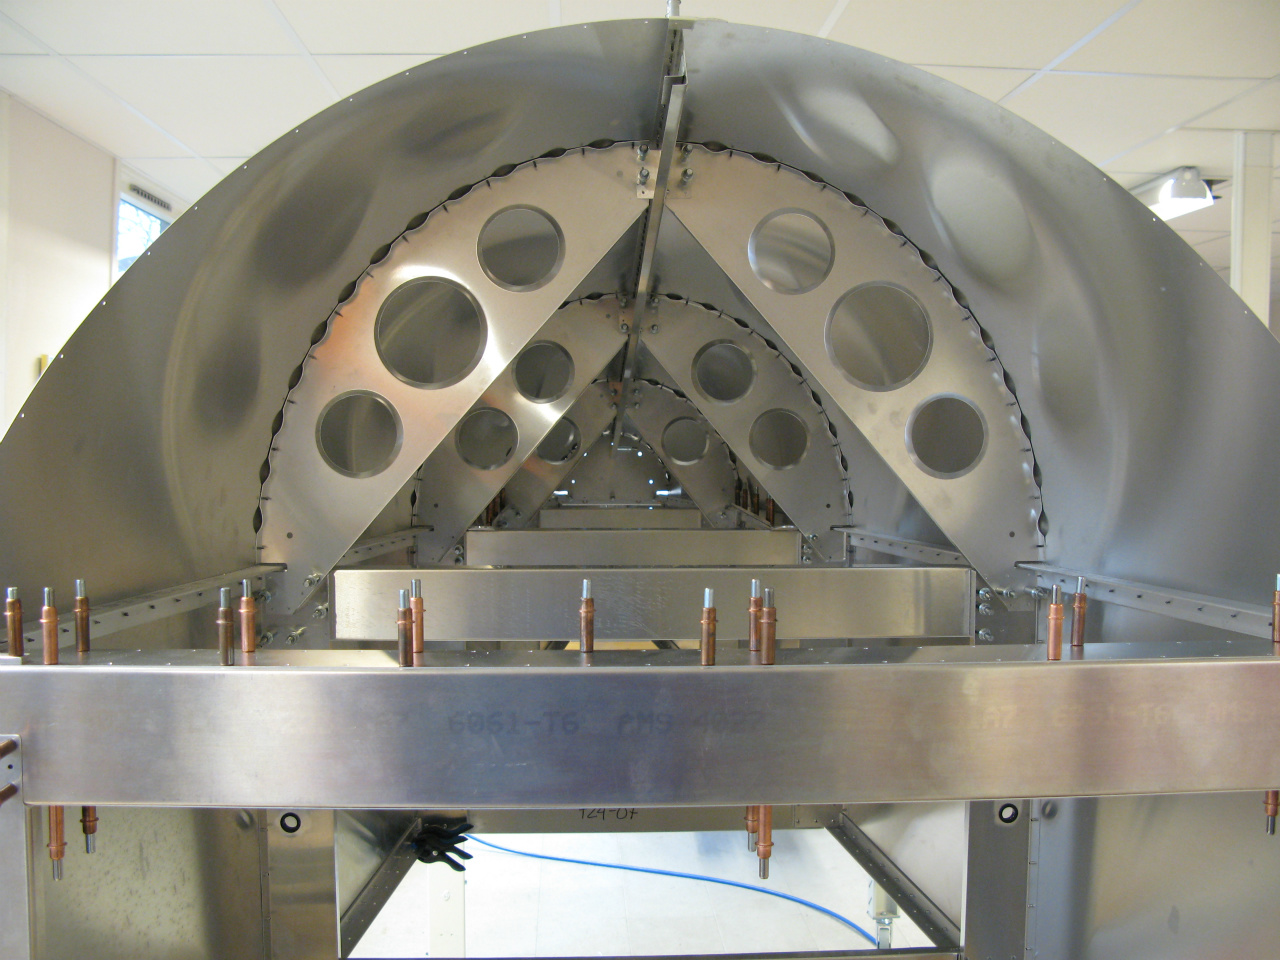
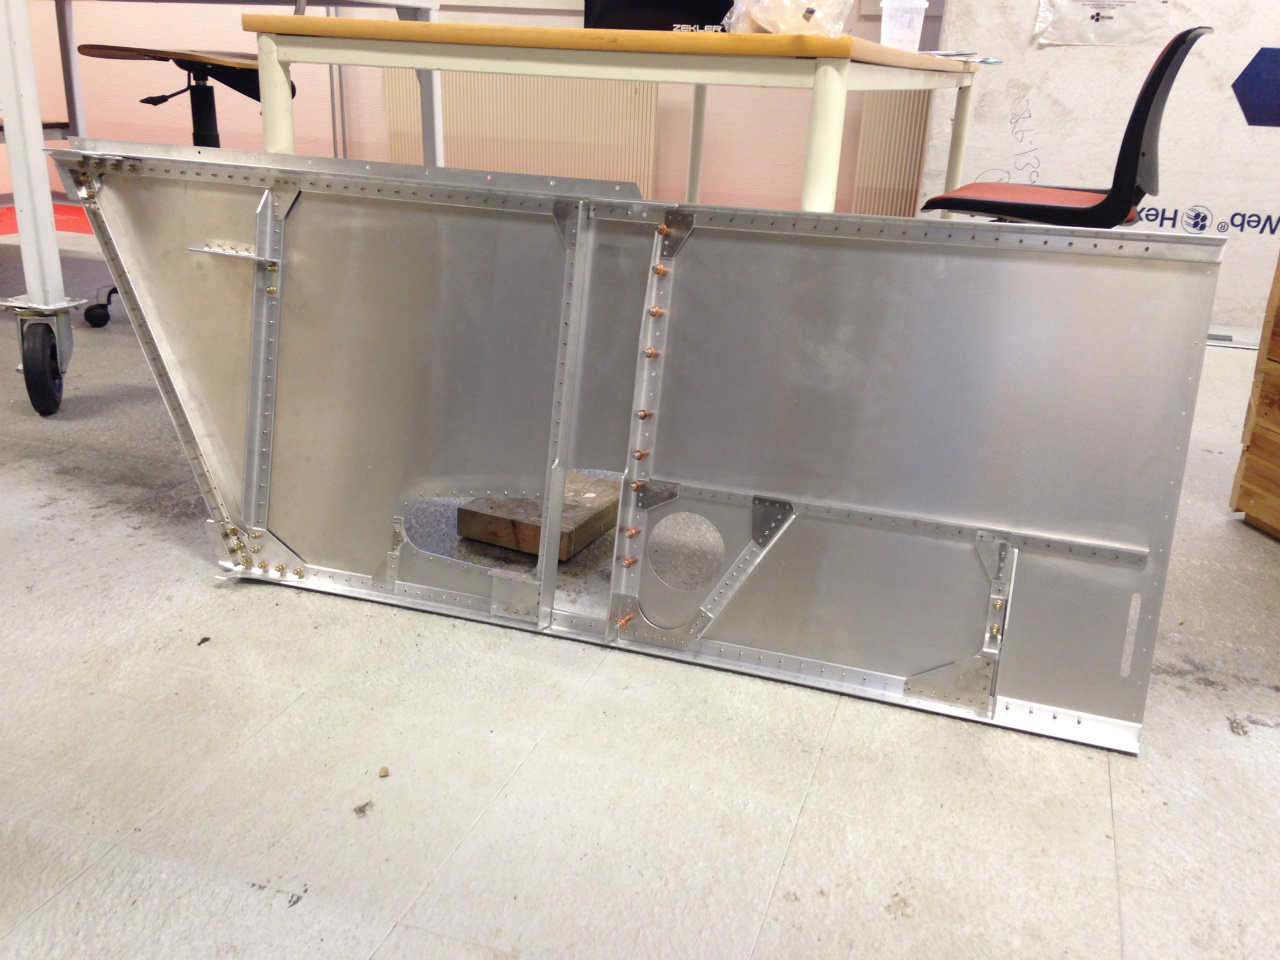
Aft fuselage side panels with longerons and vertical channels pilot drilled
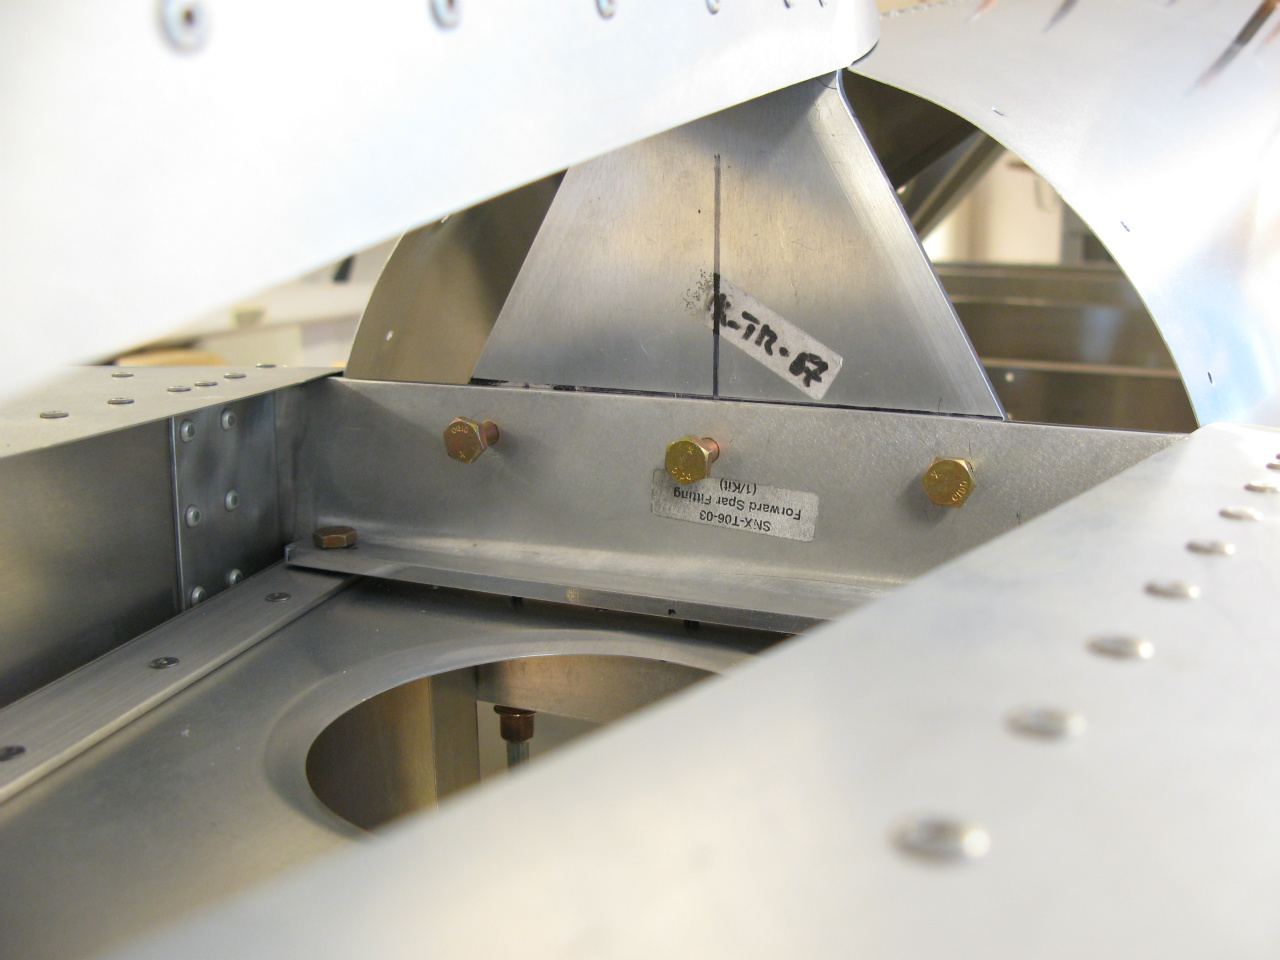
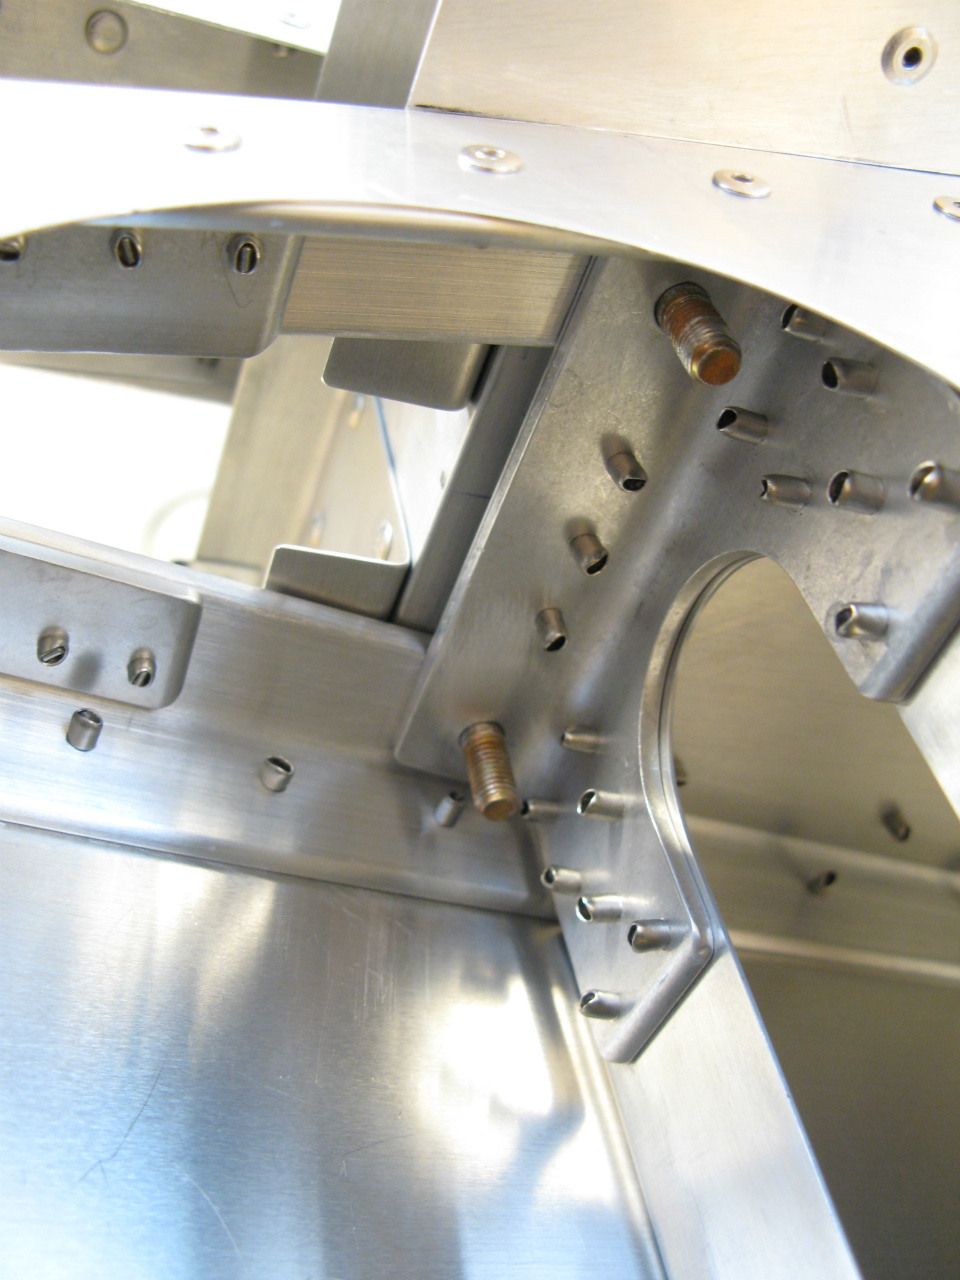
R/H upper splice plate assembly. details of structure joining aft and fwd fuselage
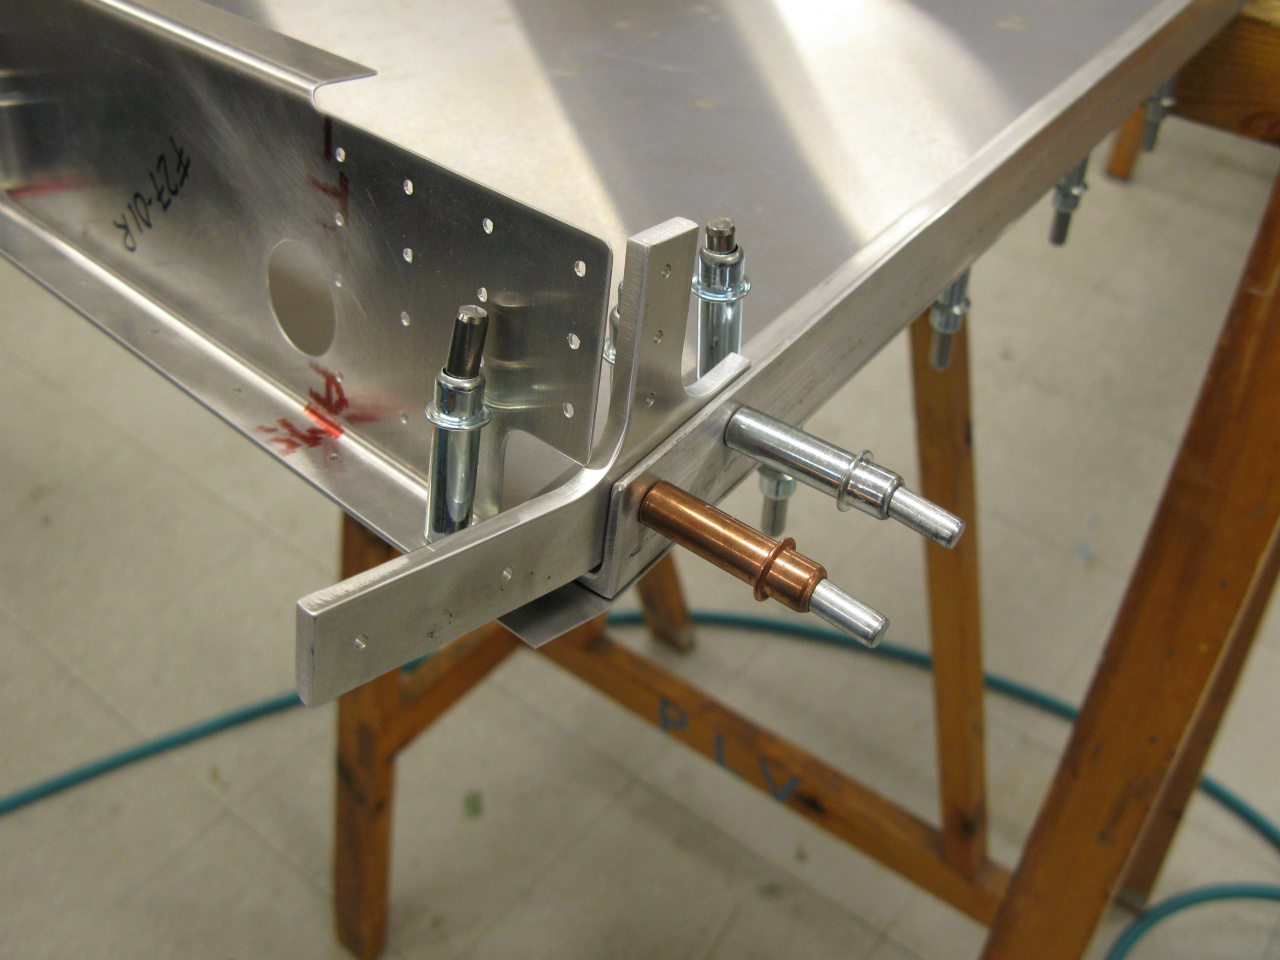
R/H lower splice plate assembly
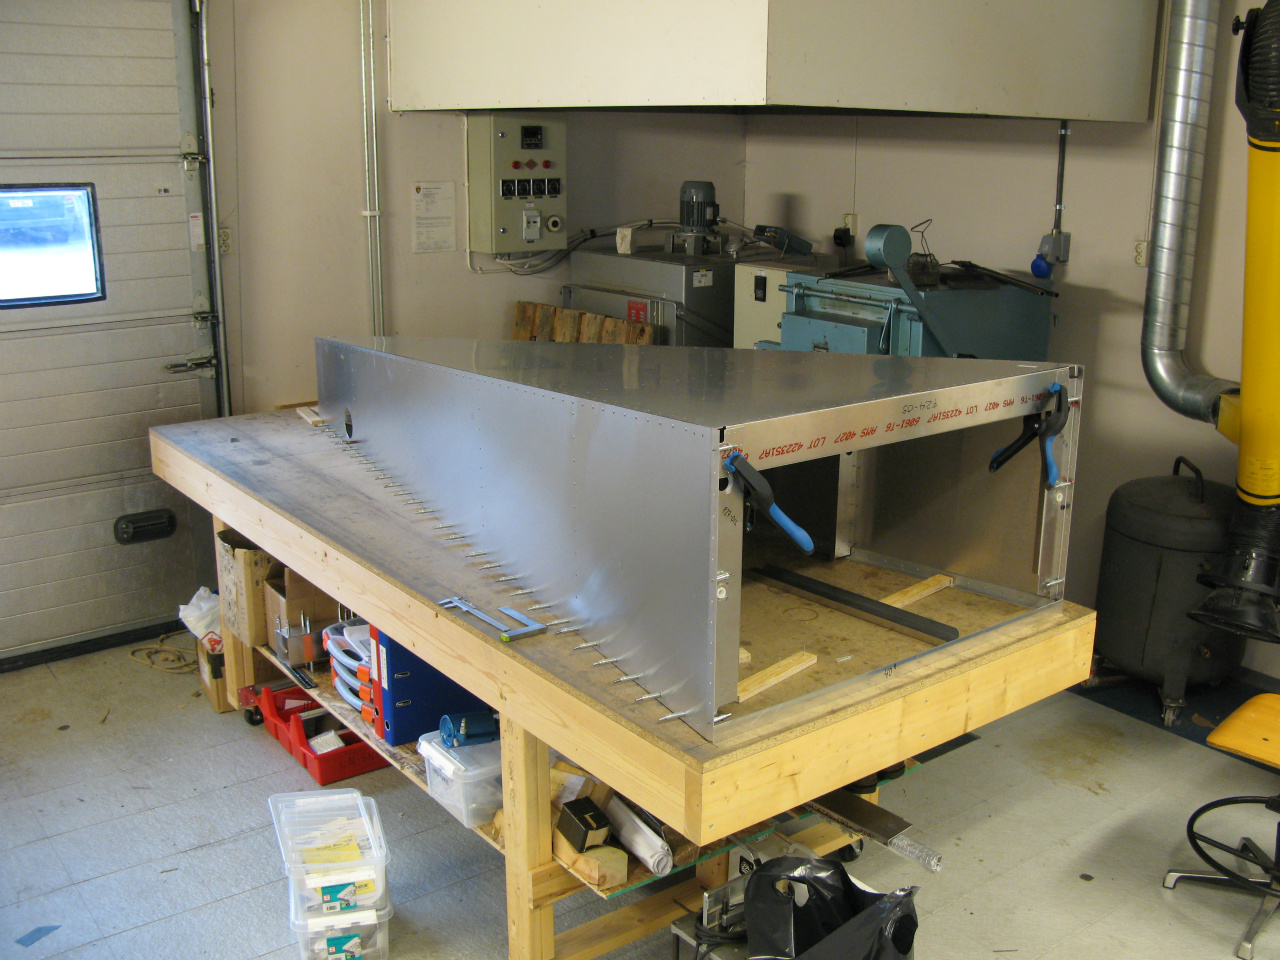
Lower aft fuselage section being lined up
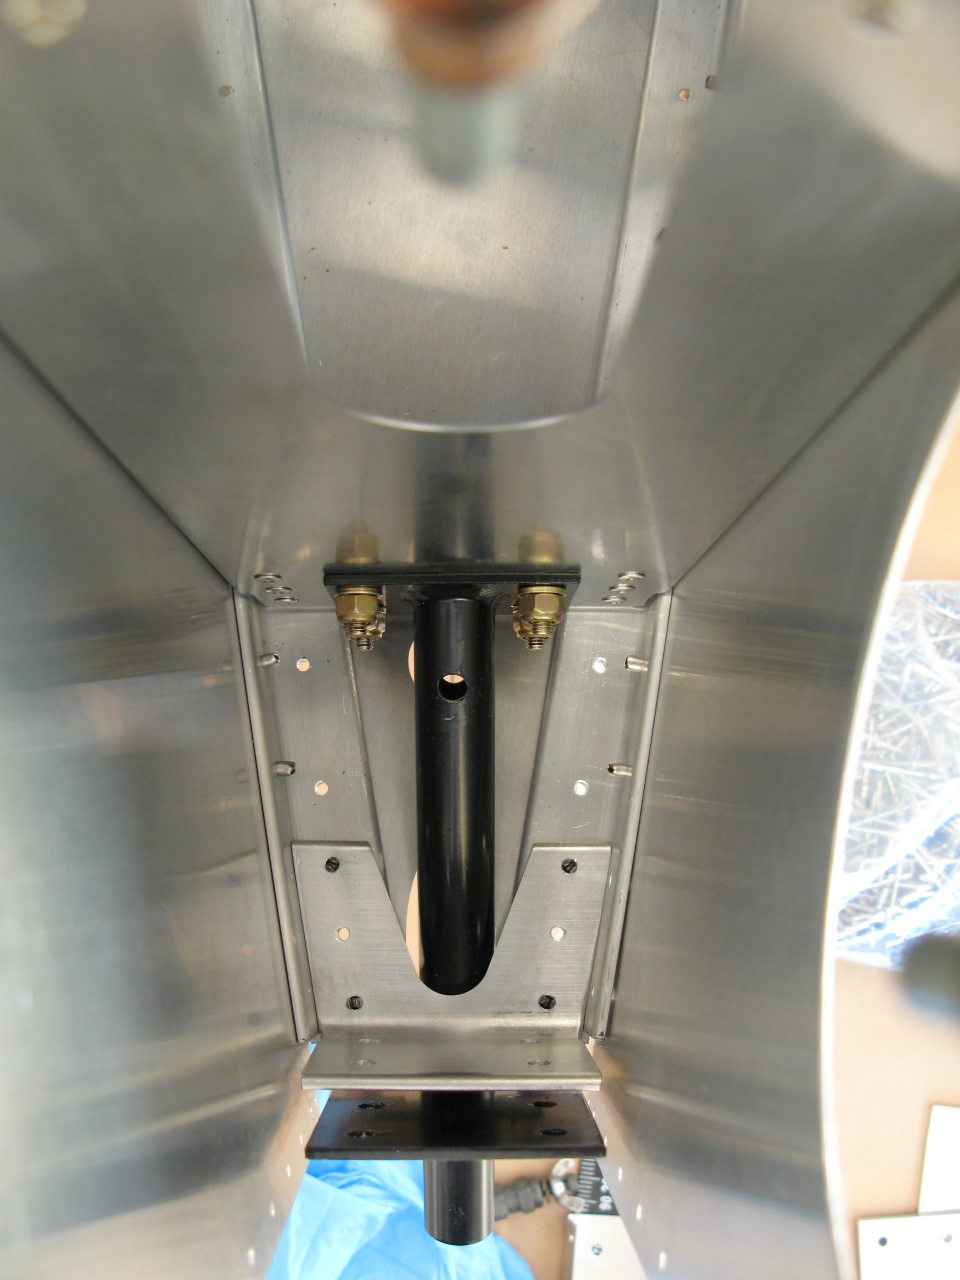
Tail wheel bracket bolted in place
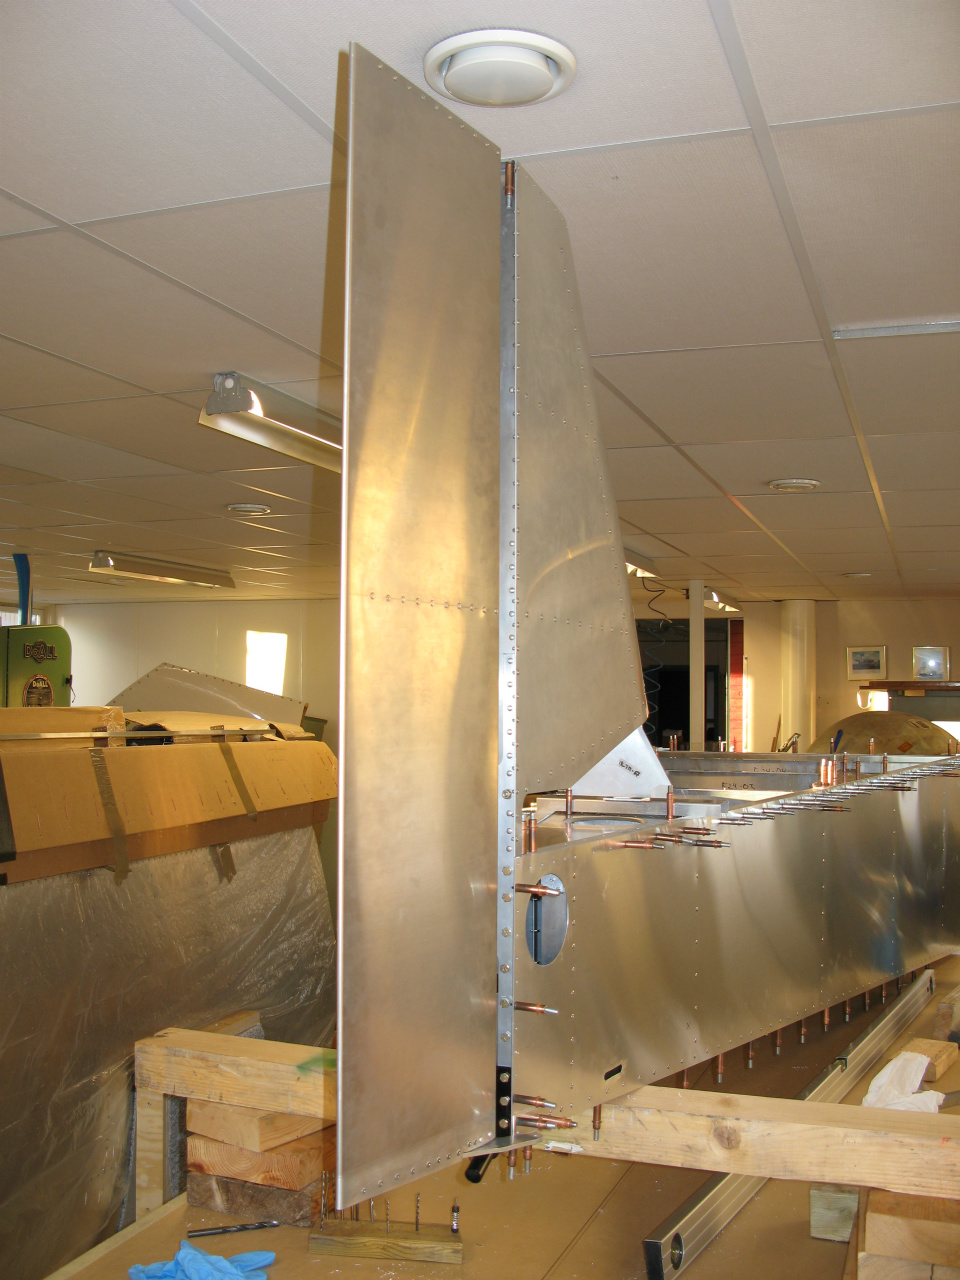
Trial fit of vertical fin and rudder
Turtledeck formers going in
L/H attach bracket
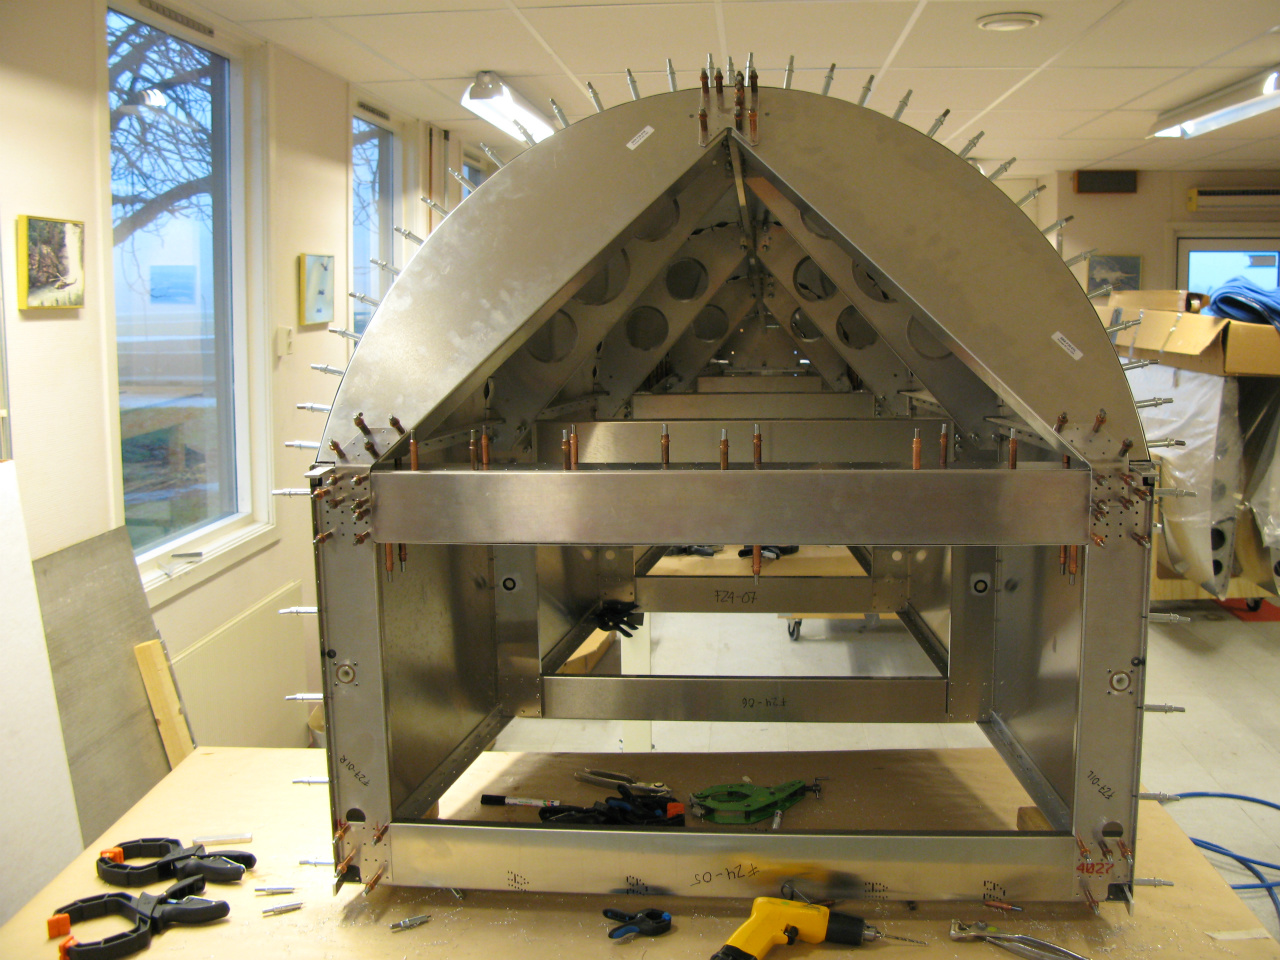
Assembly ready for final size drilling
Holes for vertical and horizontal tail drilled. The small gap between horisontal spar and longerons is due to the slight installation angle.
Vertical tail fwd spar with nut plates
1/4" bolts trough rear horisontal tail spar. Carefully drilled in center, reamed and deburred.
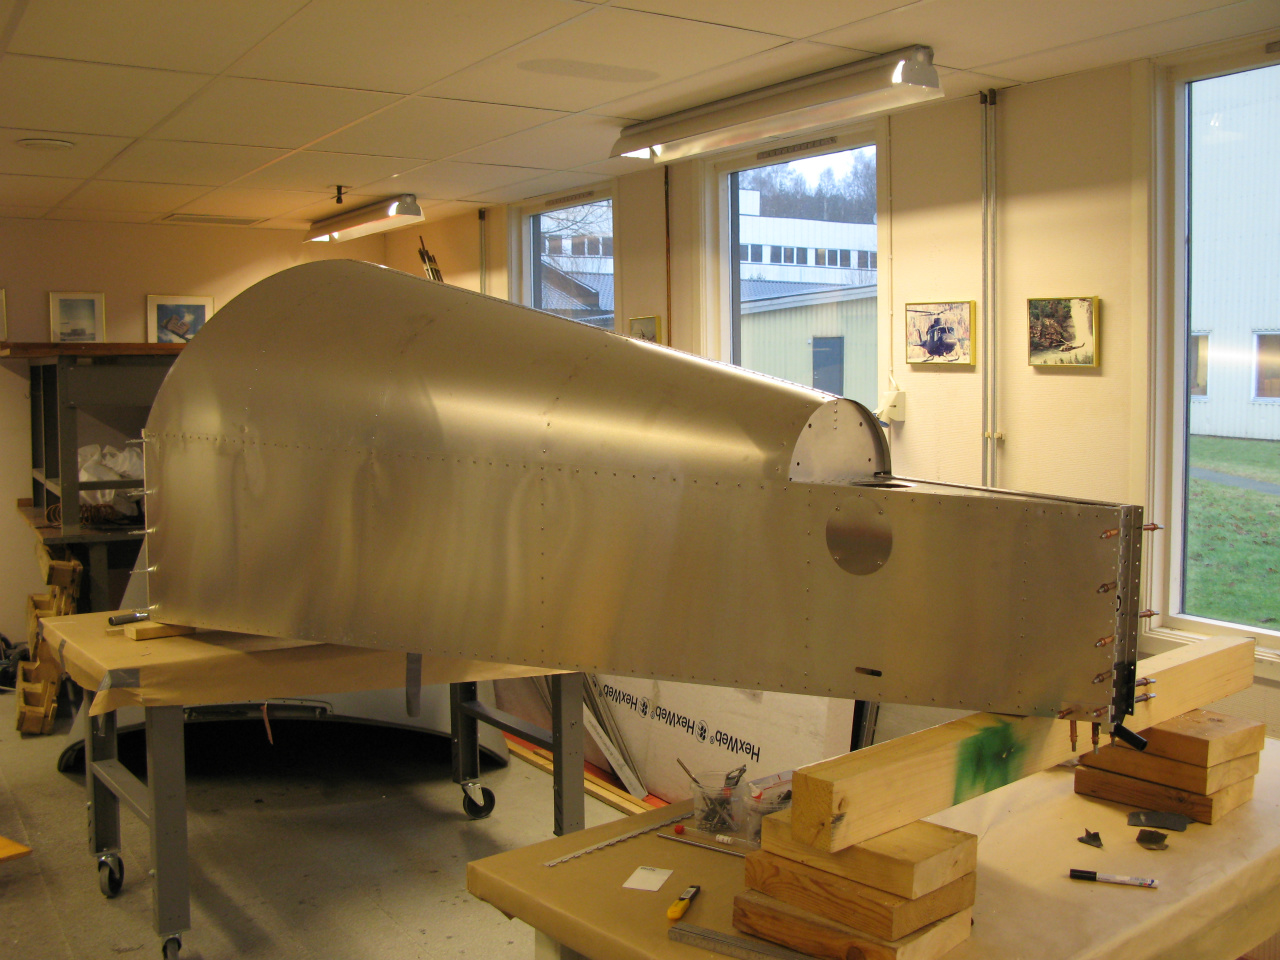
Rear fuselage more or less completed
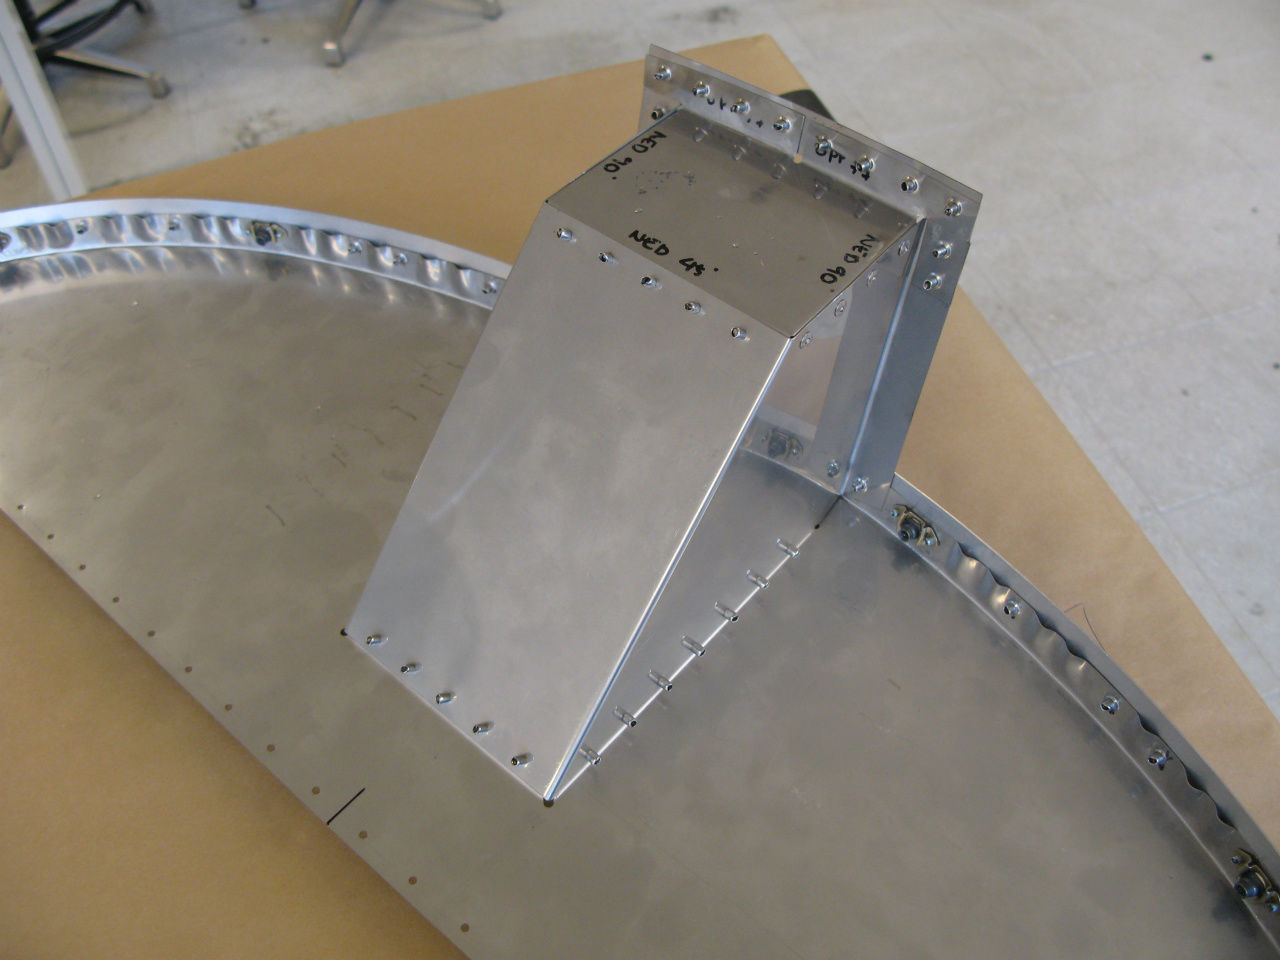
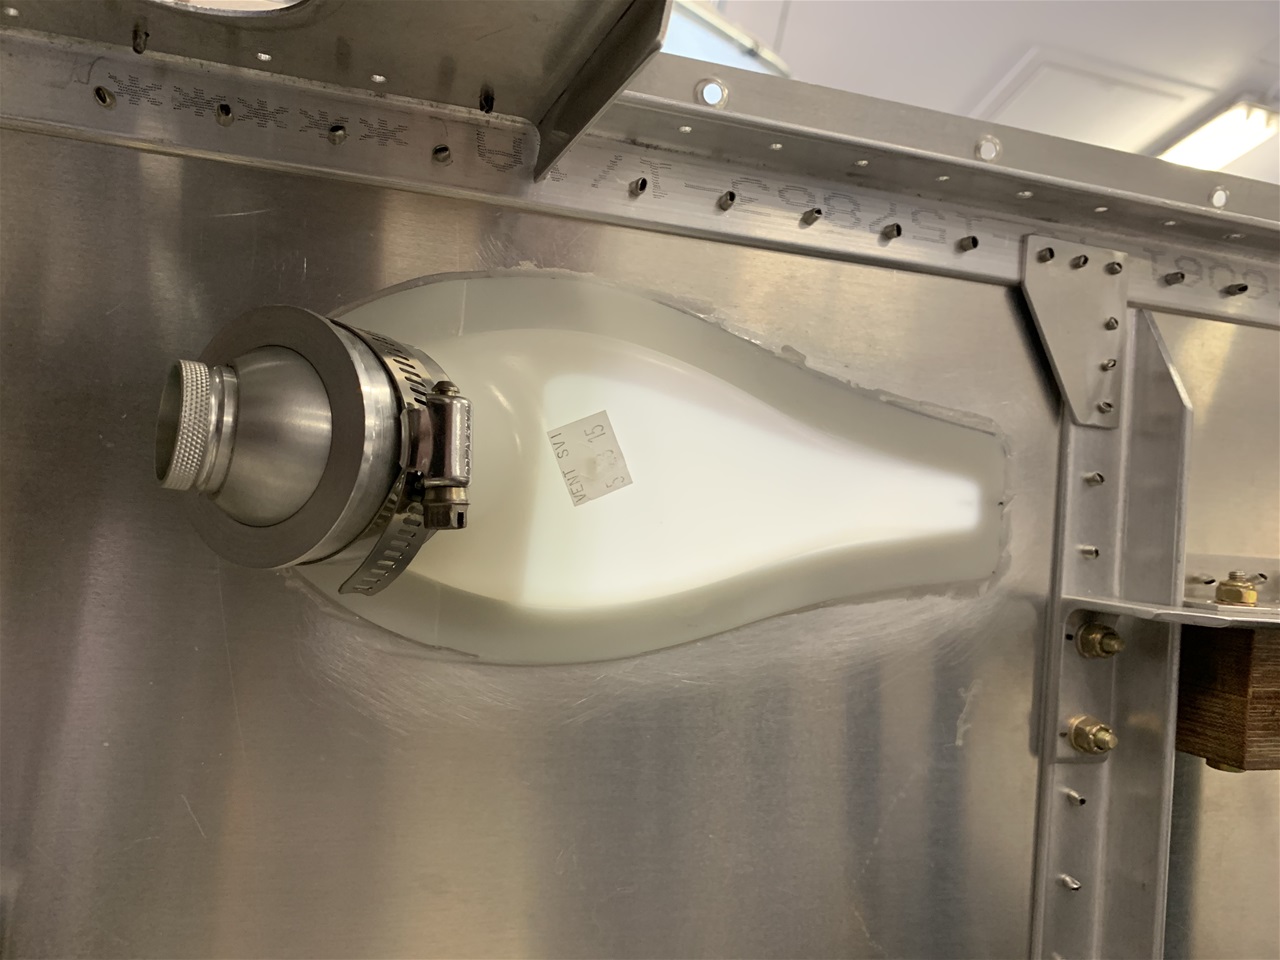
Assembly of the fillerneck
Inside fillerneck. Observe the direction of rivets to not interfere with tank
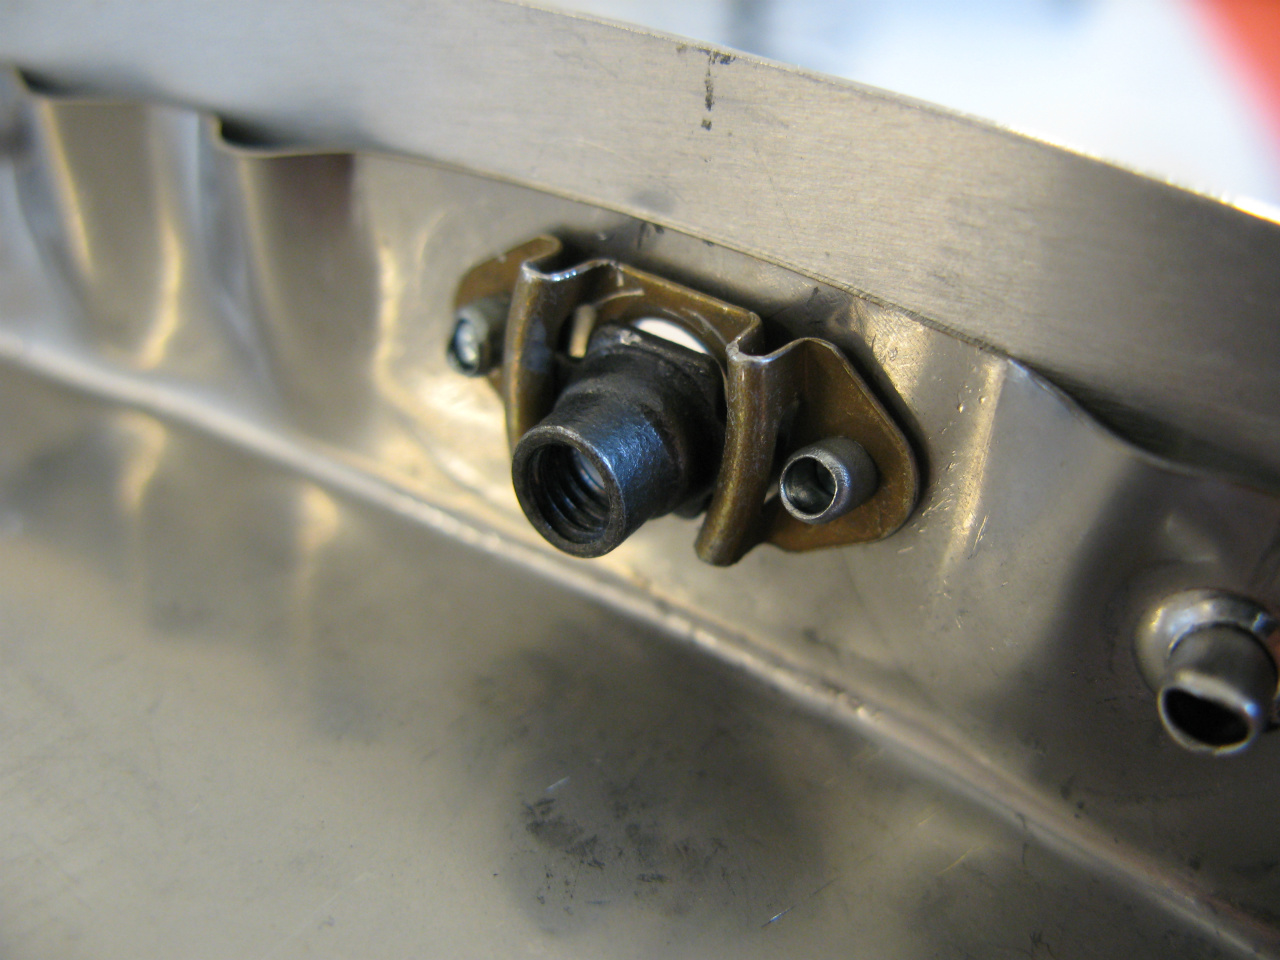
We replaced the kit supplied cowl fasteners with anchor nuts
Completed fillerneck and upper firewall
R/H fwd fuselage panel completed. Vertical stiffener notriveted to allow for drilling and countersinking of the holes for the spar channel. This is not called for in the plans, many builders, included ourself, have riveted this too soon
Aft cabin floor stiffeners

Fwd cabin and firewall

Elevator pushrod idler
Lower firewall riveted, upper left on with clecos
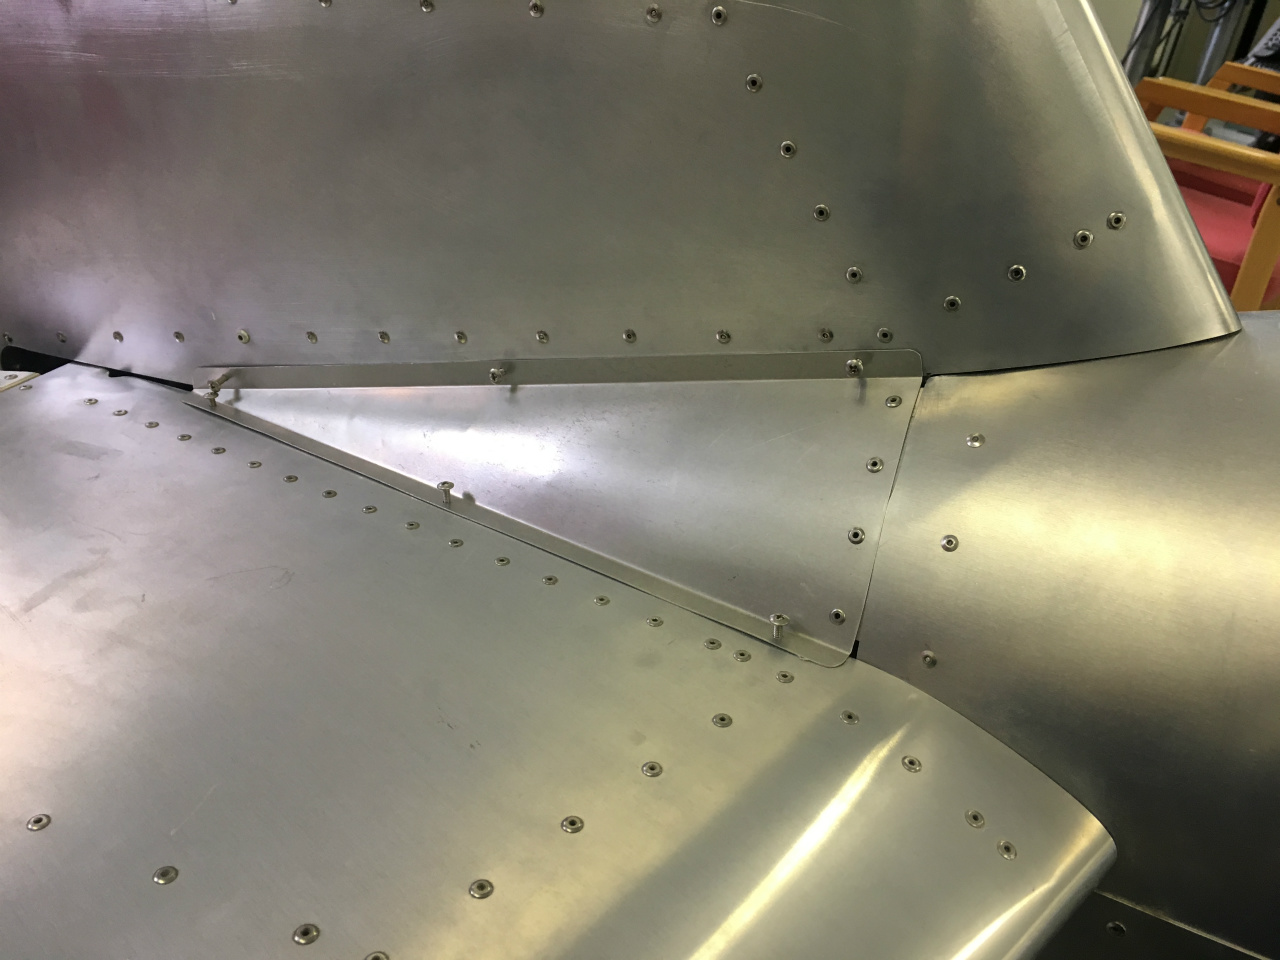
Intersection fairing. Has a tab that goes under the skin in the front, installed nutplates for the other fasteners
For most builders, fitting the canopy is one task usually not looked forward to. In the building community, this seemes to be the consensus. I can understand why, but with time, patience, heat and a little help from friends, is is not so bad after all.
Instructional videos on the subject can also be found on EAA website.
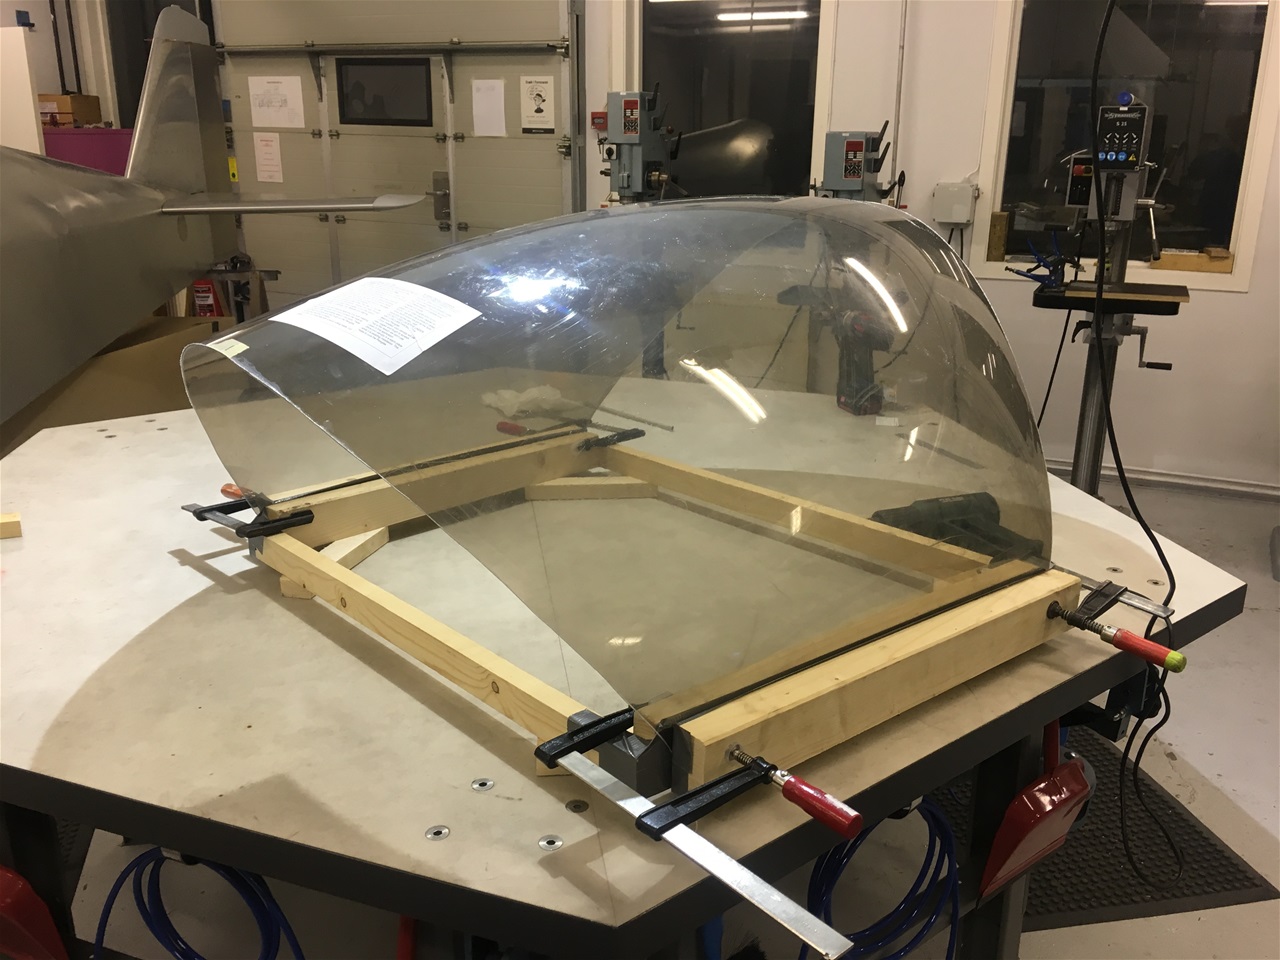
Our canopy is a 2012 year model. Hence the sides tends to bulge quite a bit compared to more recently blown canopies. We made a wooden frame with the same size as the cocpit opening allowing us to apply clamping force to the lower sides of the plexiglass.
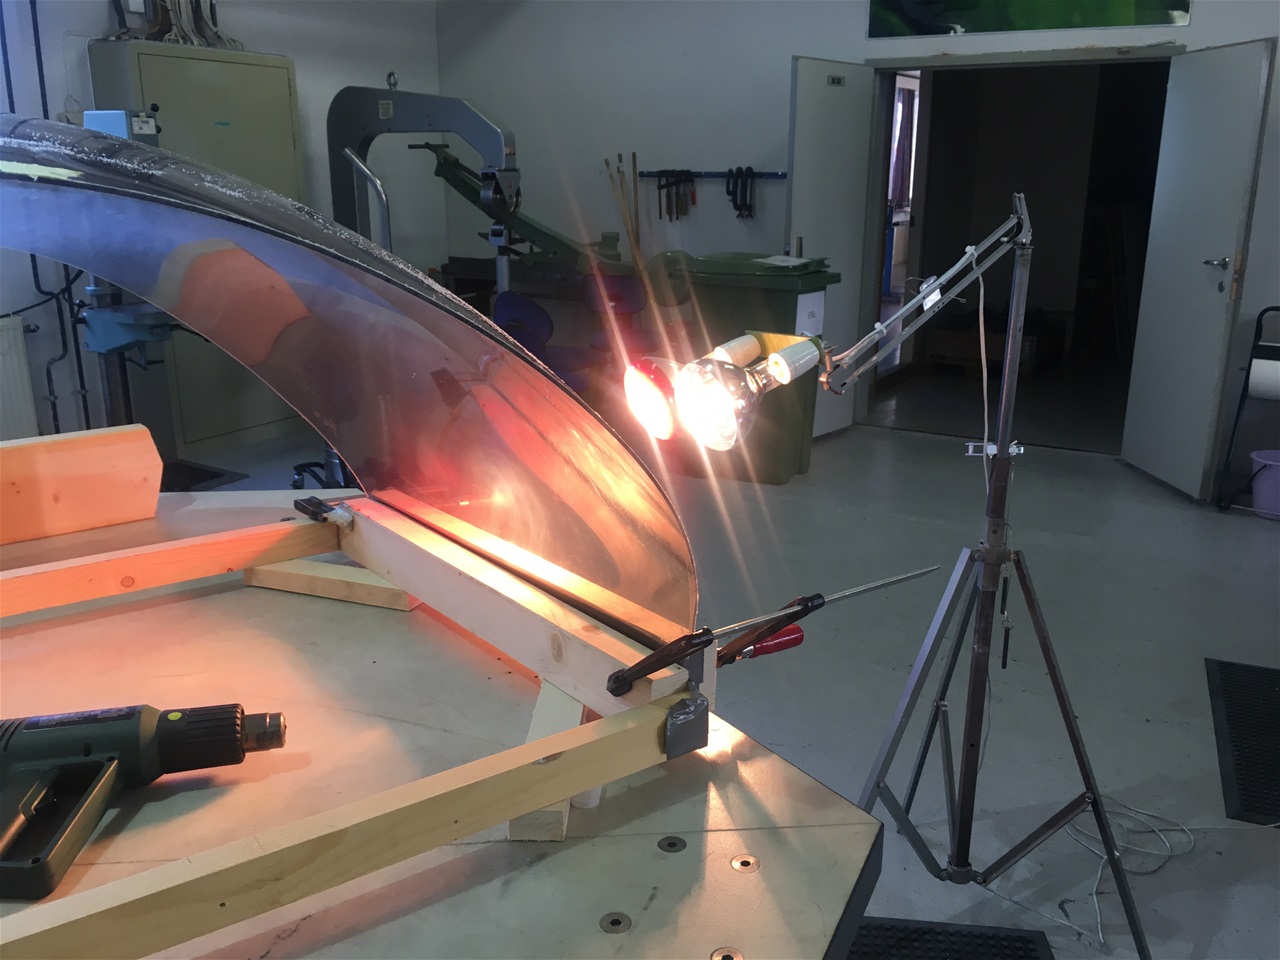
We then applied generous amounts of heat at a safe distance.
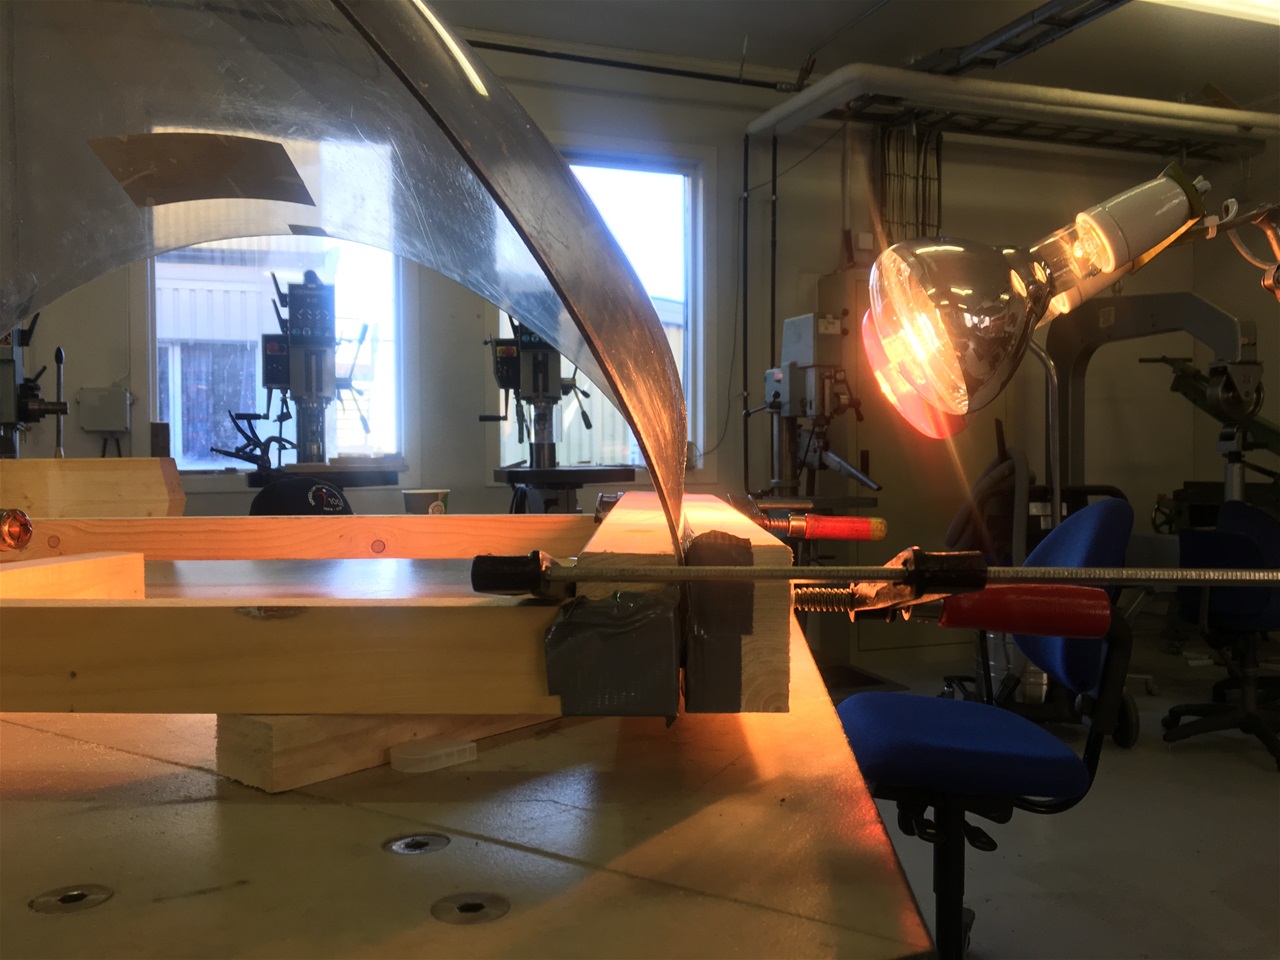
This picture shows how we flattened out the sides of the canopy, putting less strain on the fasteners of the canopy frame, and making it a lot easier to fit. There will be some optical distortion from this excersise, but keep it low on the sides and it will never affect the visibility out of the canopy.
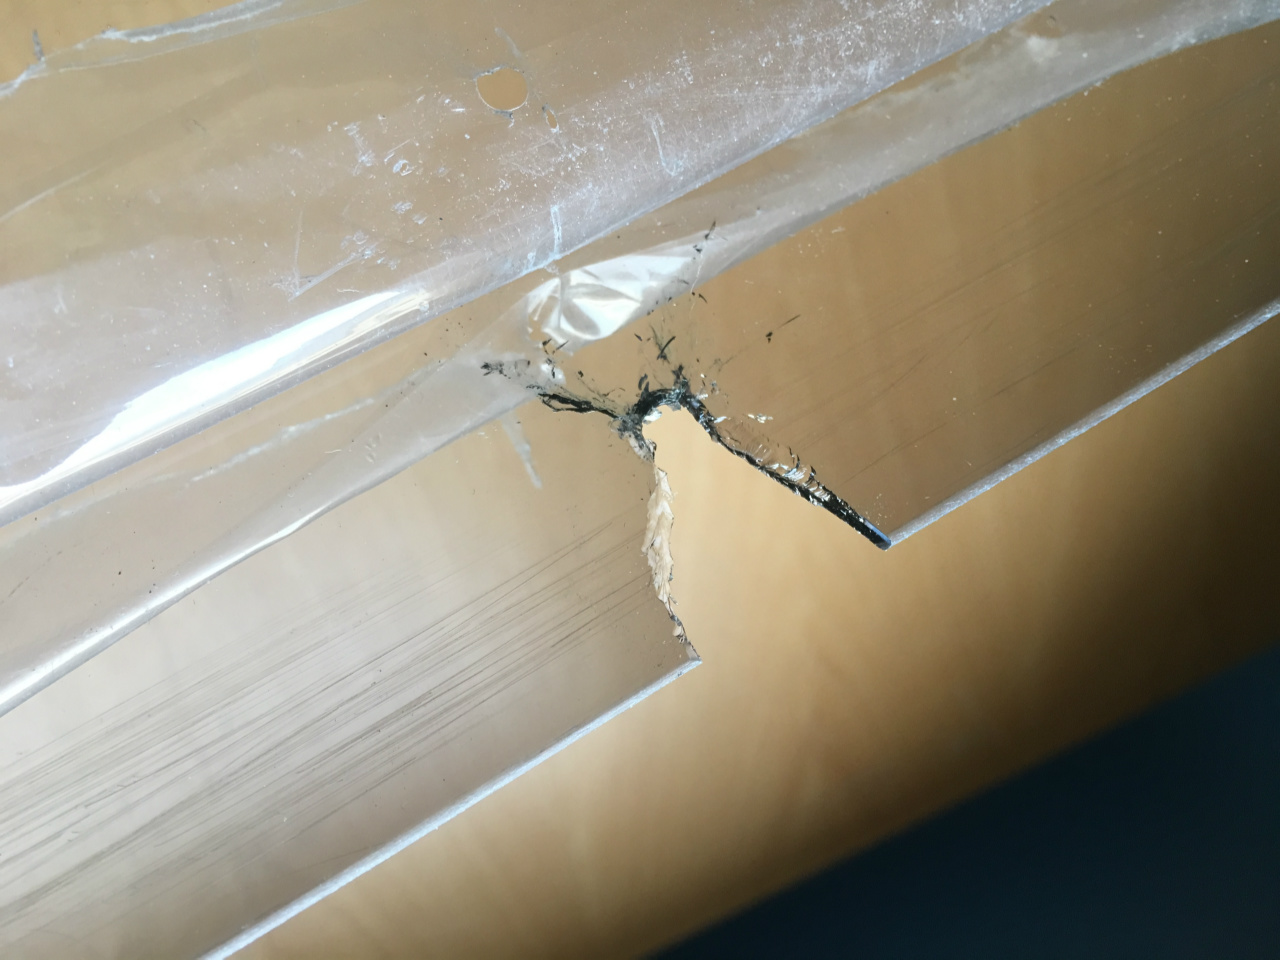
Canopy complete, and then this happened. DO NOT put locktite on the canopy screws. In this case we had a rapid chemical reaction causing the plexiglass to harden up and fall apart. Back to start on the canopy....
Adjustable air vents on both sides inside the fwd cabin
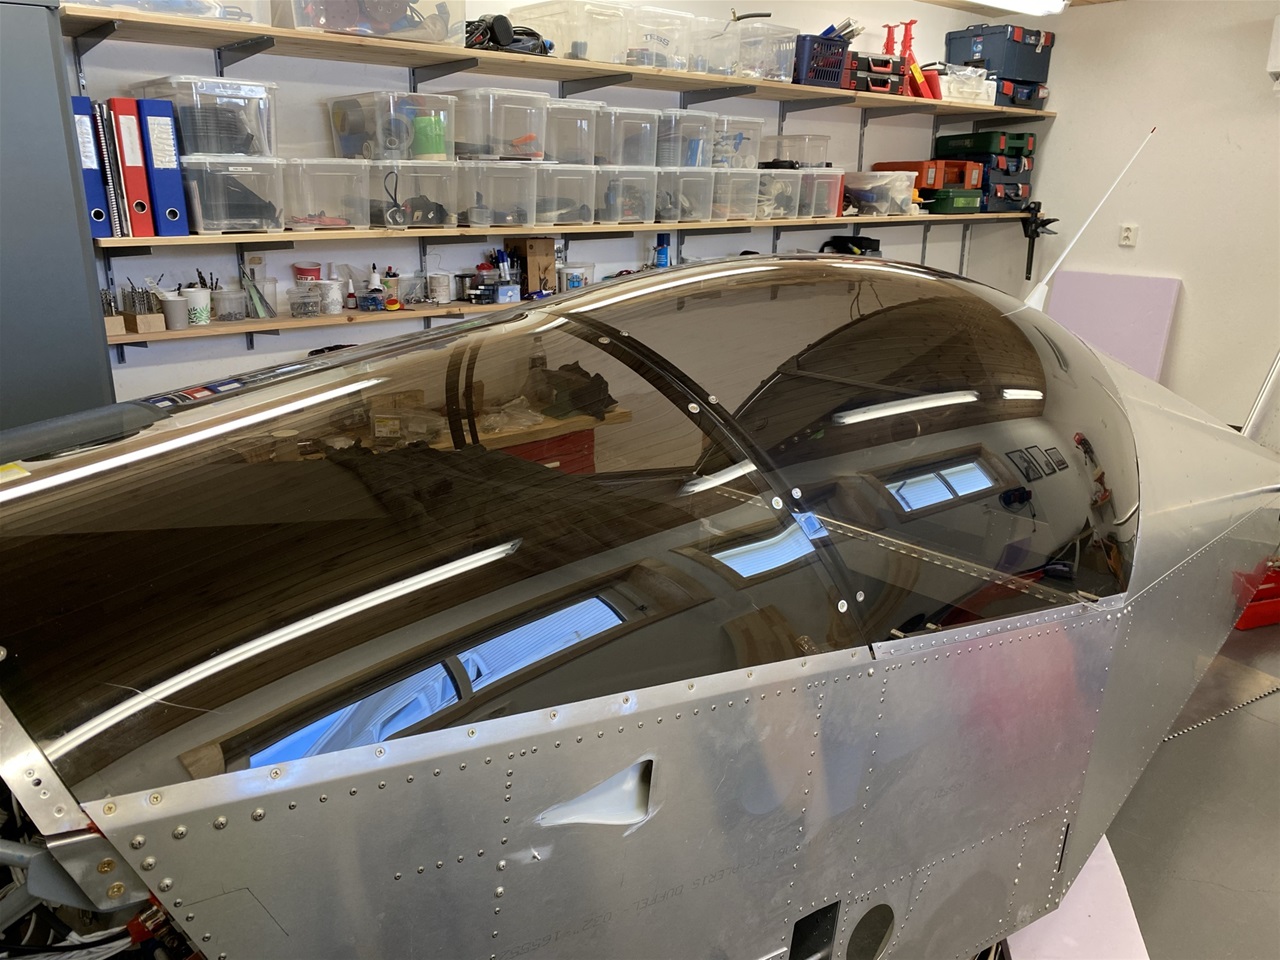
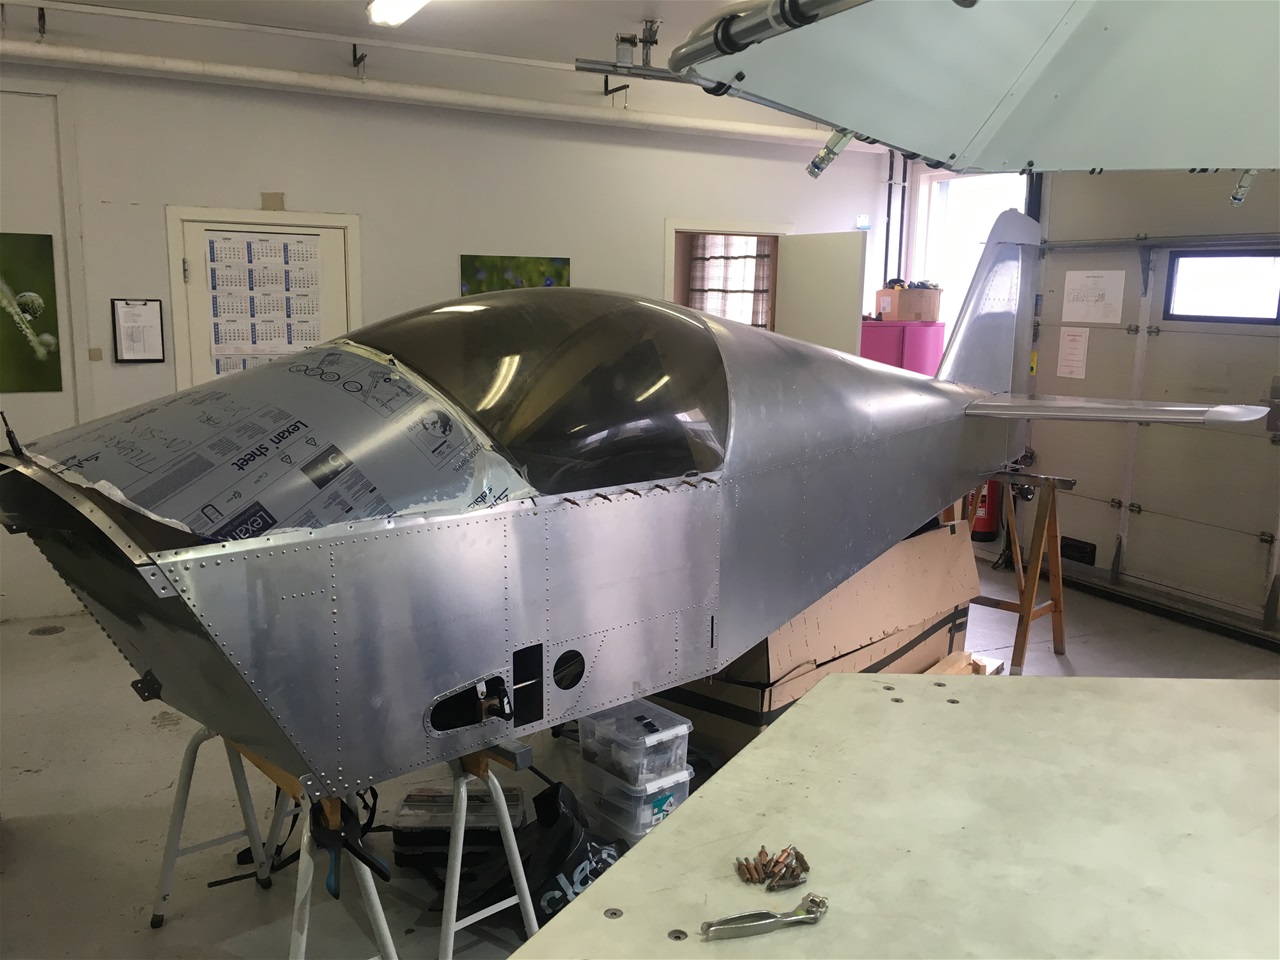
Windscreen and canopy fitted
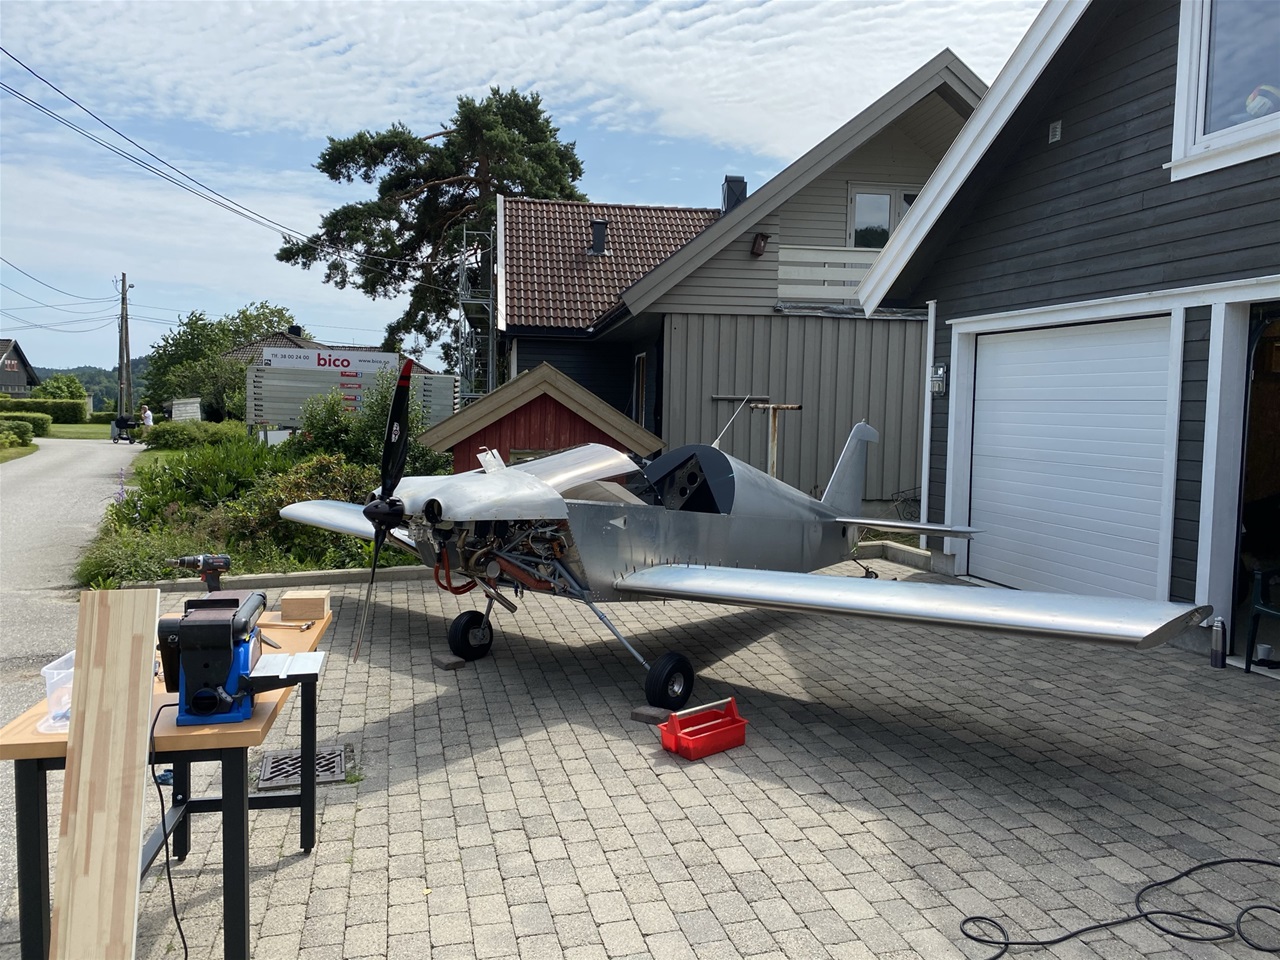
Outside in the sun to fit the aluminium strips between wings and fuselage
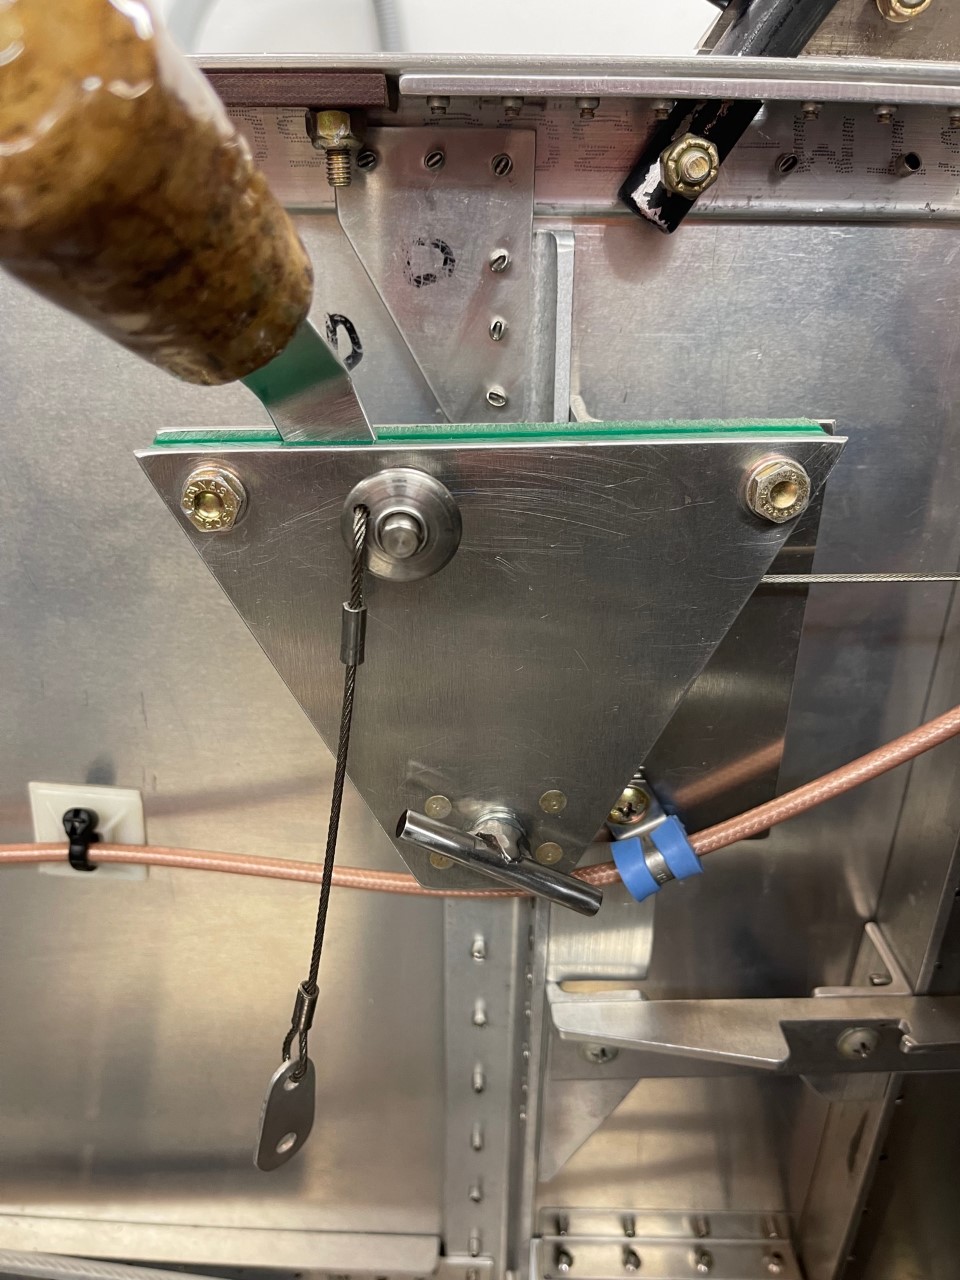
Our DIY throttle quadrant. Note the locking pin preventing the throttle to move. This is due to the fact that the ULP engine is spring loaded to full power and the pin prevents accidental engine start at WOT. The locking pin doubles as canopy lock after starting checklist is complete.
canopy lock. Safety pin moved from throttle quadrant.